Introduction to DIY Paver Projects
As a homeowner in Concord, California, you might be considering ways to enhance your outdoor space. One of the most popular and cost-effective methods is through DIY paver projects. Not only do they add aesthetic appeal, but they also increase the functionality of your outdoor areas. If you're new to this, don't worry! This guide will walk you through the basics of starting a DIY paver project, ensuring you achieve professional-looking results even as a beginner.
Why Choose Pavers for Your Outdoor Spaces?
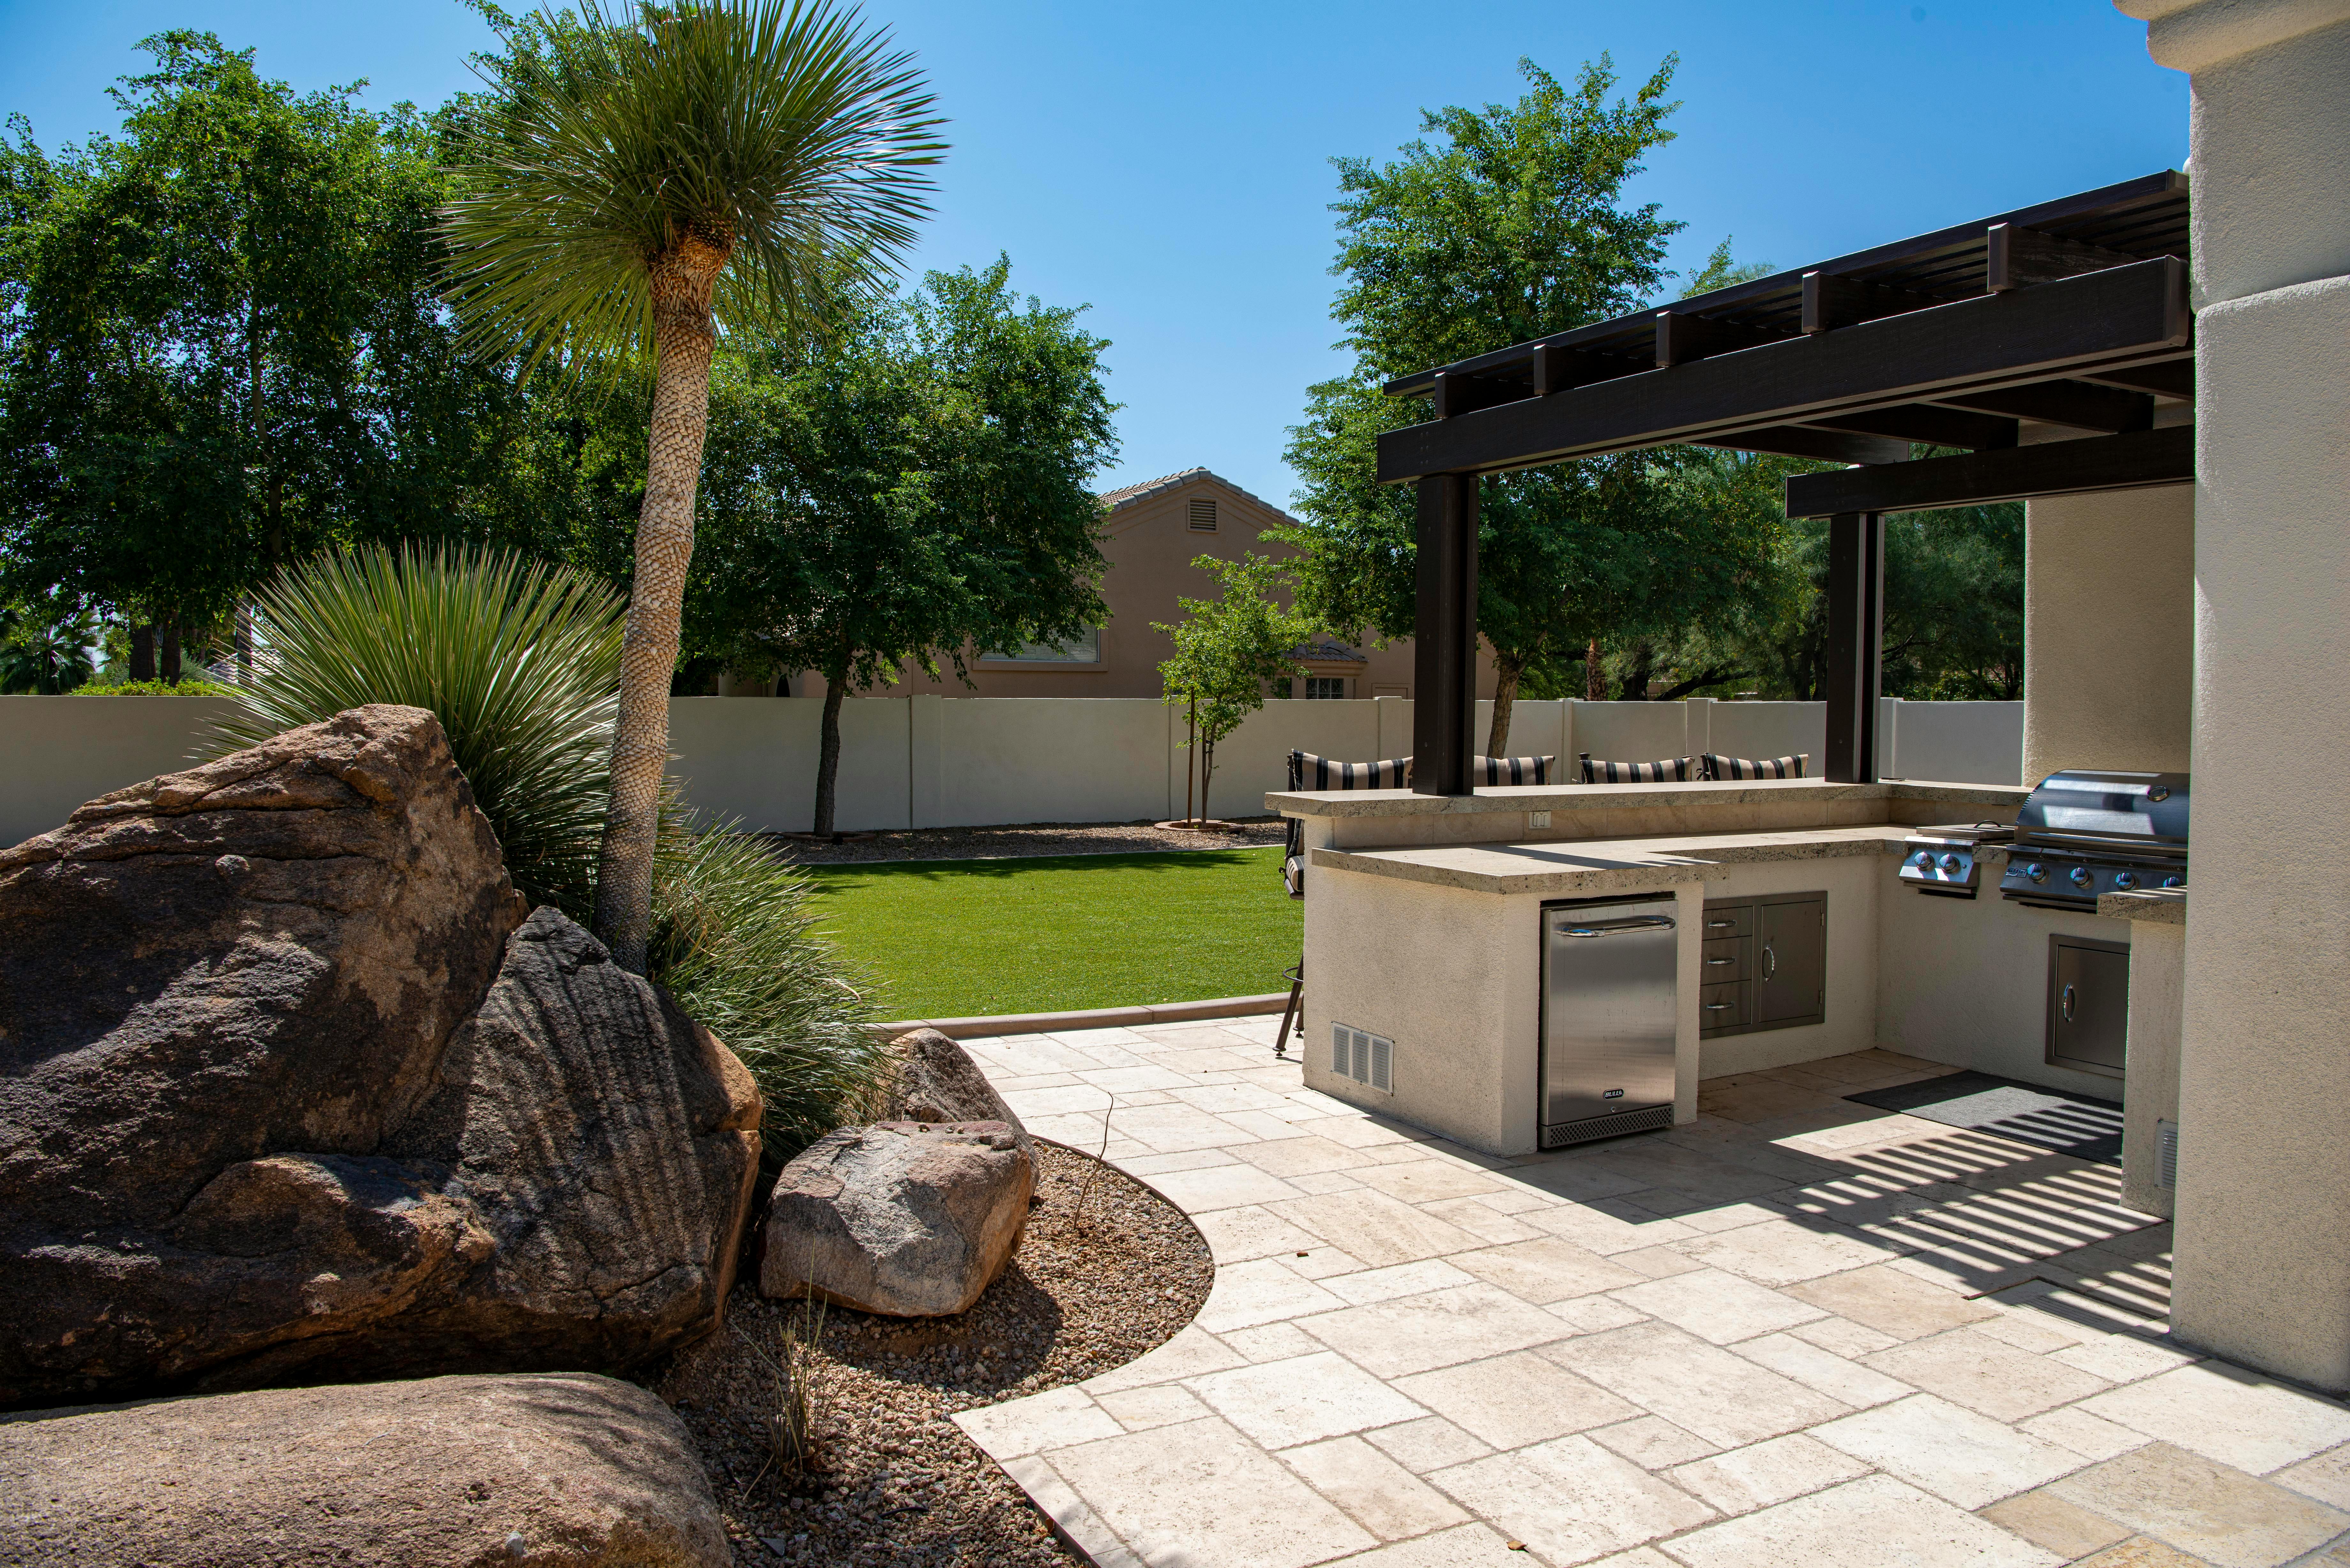
Pavers are an excellent choice for various outdoor projects, from patios to walkways and driveways. Here's why:
- Durability: Pavers are designed to withstand heavy foot traffic and harsh weather conditions, making them a long-lasting option.
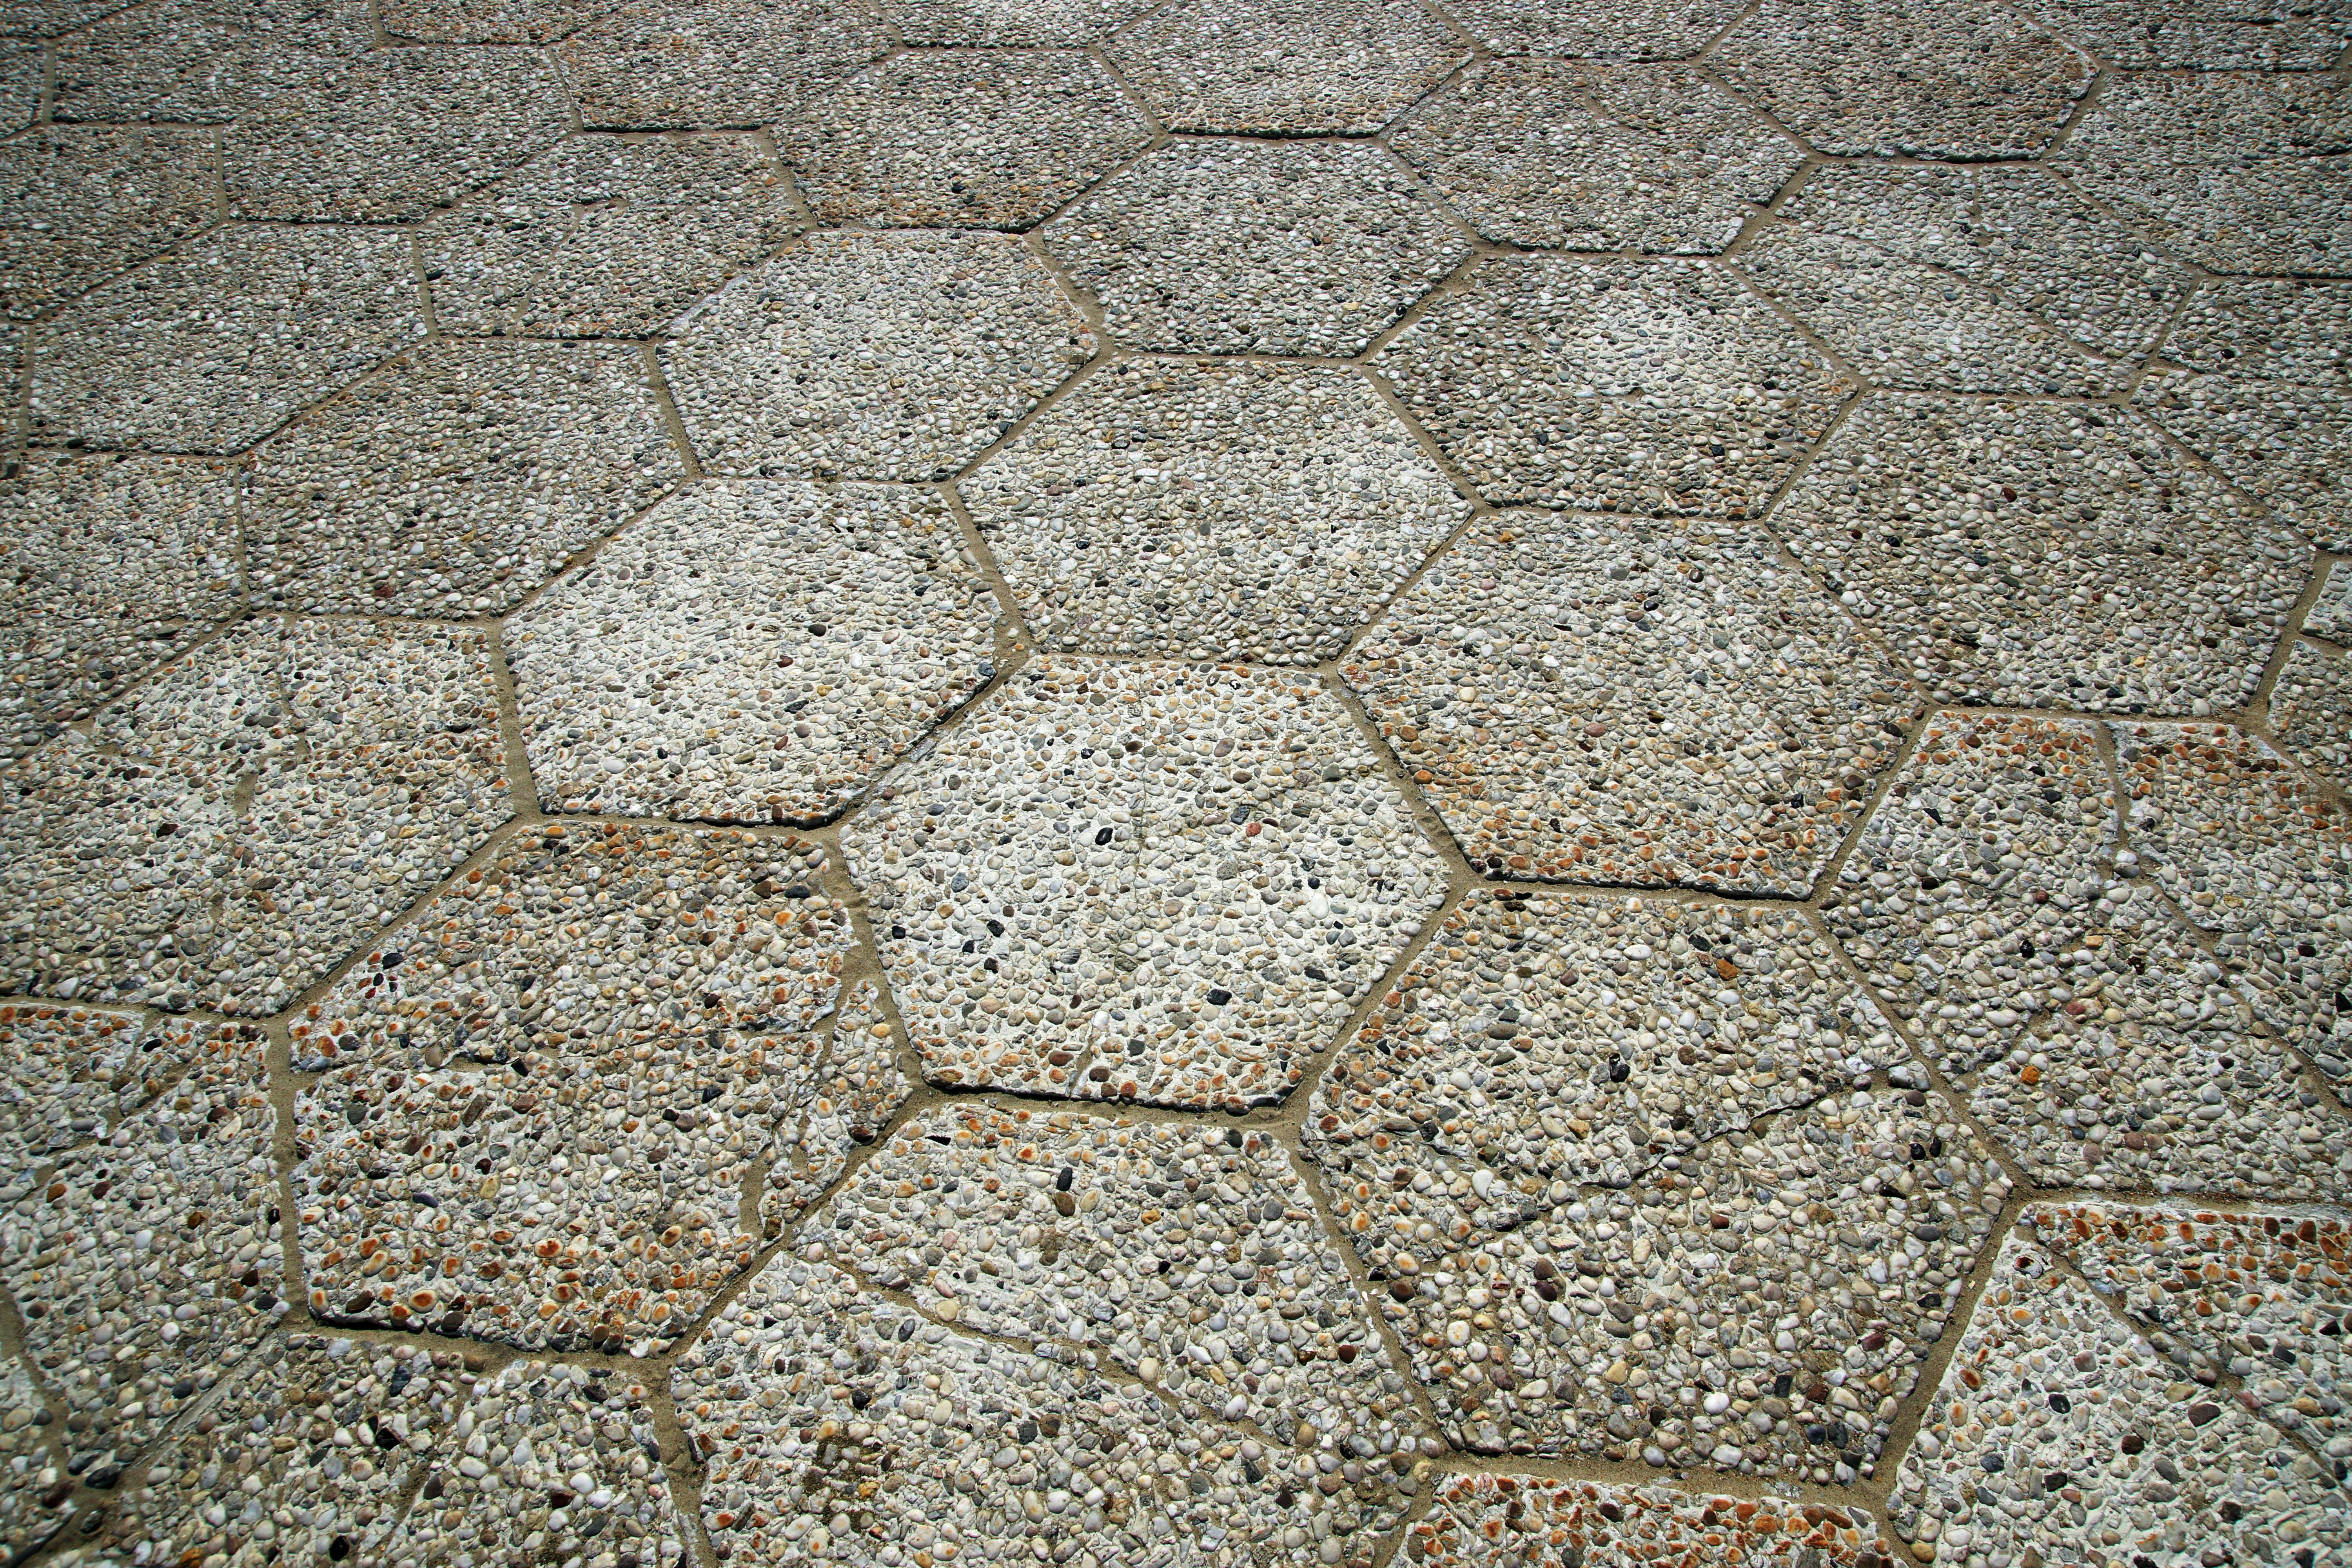
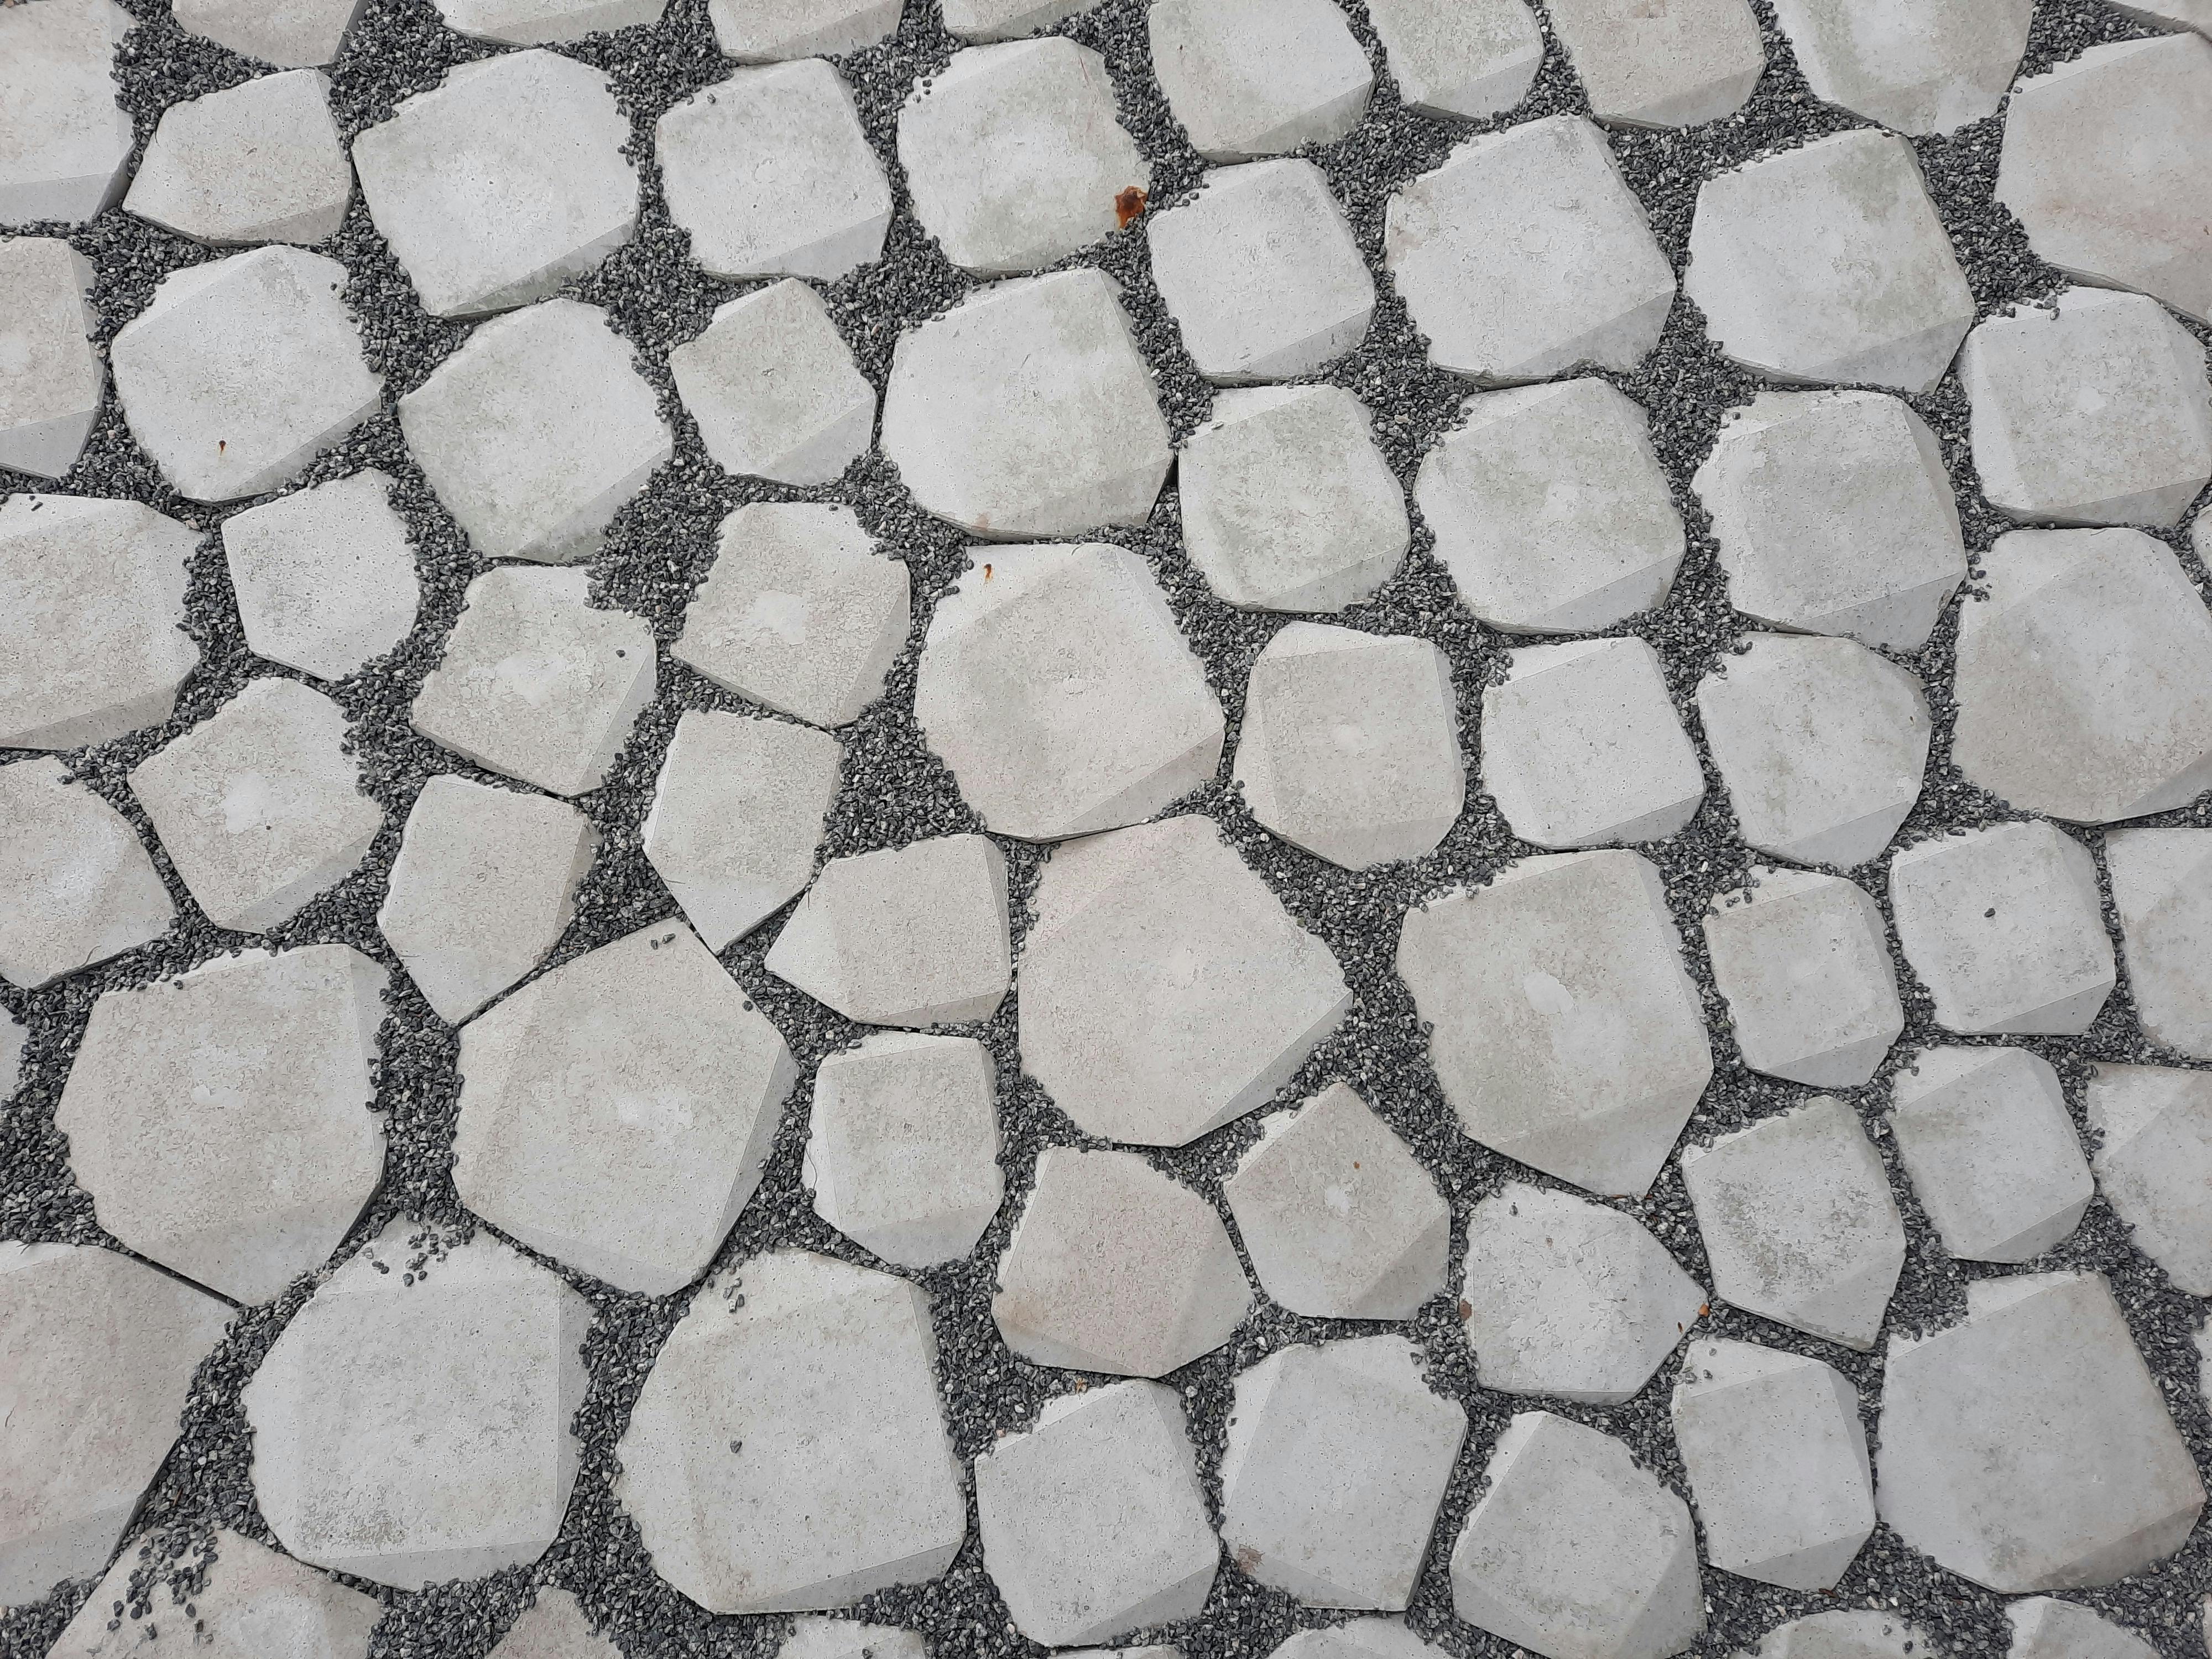
- Versatility: Available in numerous shapes, colors, and materials, pavers allow for creative design possibilities.
- Low Maintenance: Once installed, pavers require minimal upkeep compared to other materials.
- DIY-Friendly: With the right tools and guidance, pavers can be installed by homeowners, saving on labor costs.
Steps to Start Your DIY Paver Project
1. Planning and Design
Before you start laying pavers, a clear plan is essential. Consider the following:
- Purpose: Determine the function of your paver area. Is it a patio, walkway, or driveway?
- Size: Measure the area to calculate the number of pavers you'll need.
- Design: Sketch a design that complements your home’s style and landscape.
2. Choosing the Right Pavers
Selecting the right type of pavers is crucial to the success of your project. Consider:
- Material: Concrete, brick, and natural stone are popular choices, each with its unique look and durability.
- Color: Choose a color that matches your home exterior and landscaping.
- Shape and Size: Different shapes and sizes can create various patterns, adding visual interest.
3. Preparing the Site
Proper site preparation is key to ensuring a stable and even paver surface. Follow these steps:
- Clear the Area: Remove any grass, plants, or debris from the installation area.
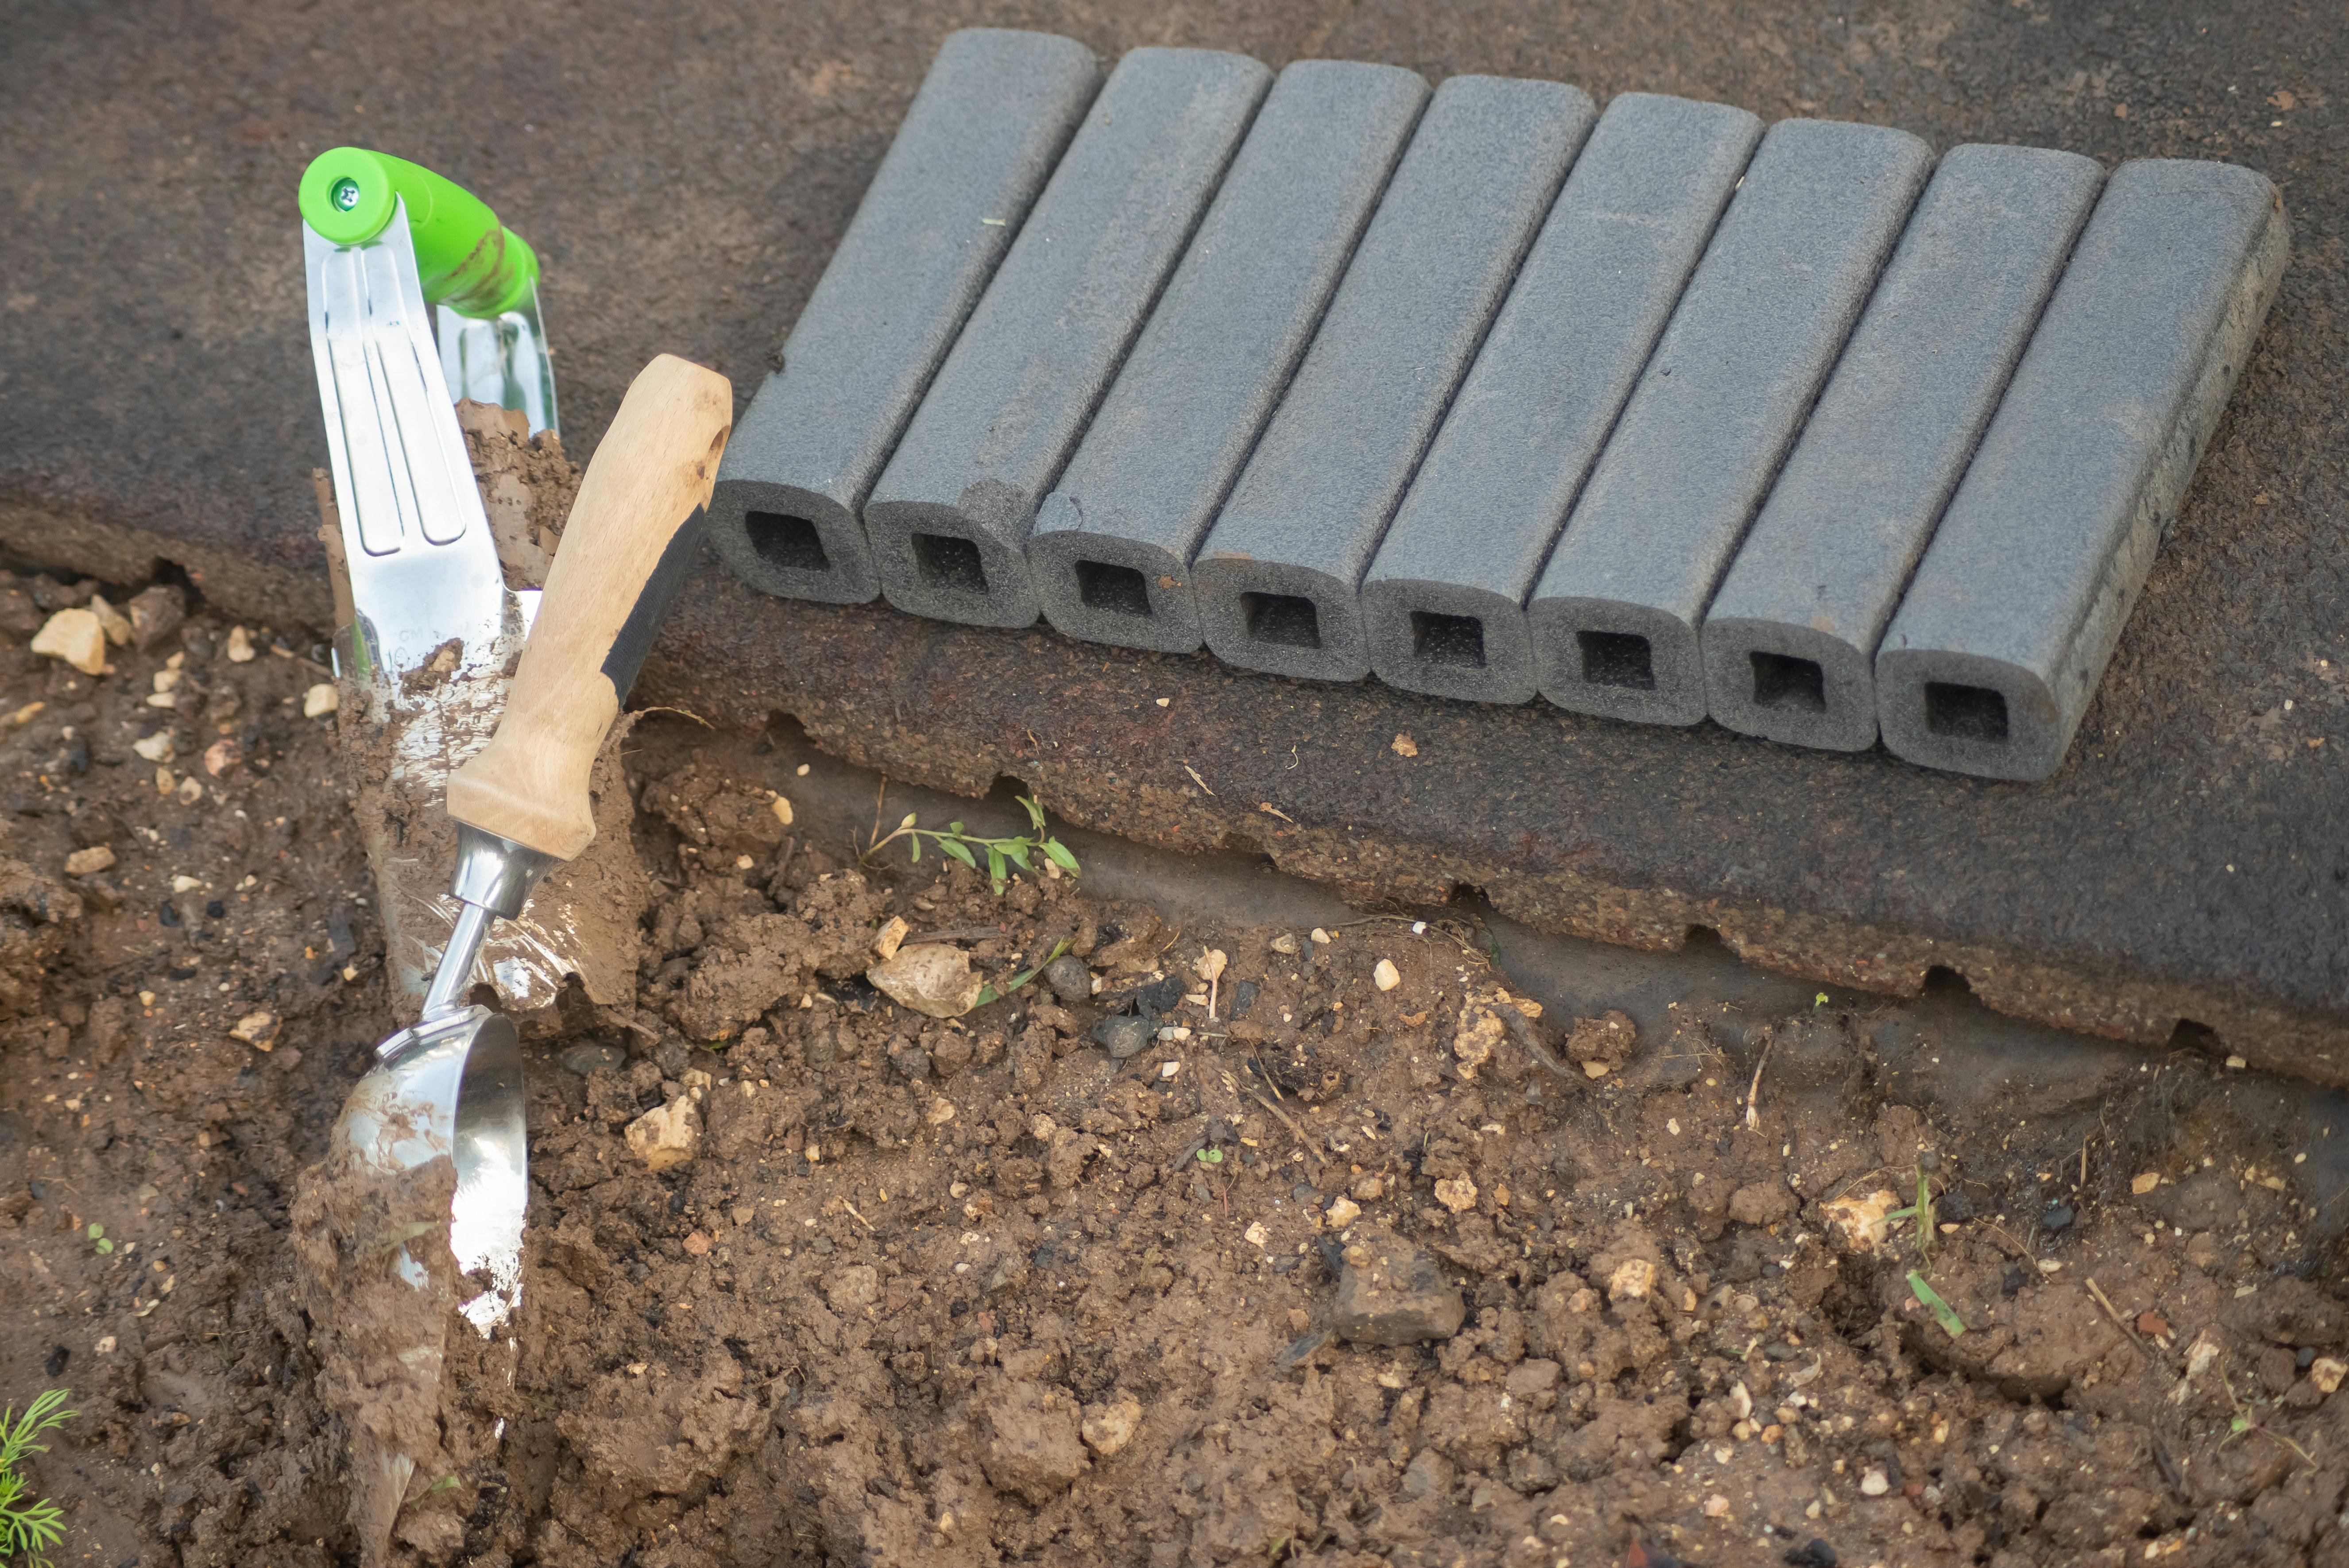
- Level the Ground: Use a shovel to level the ground, ensuring a slight slope for water drainage.
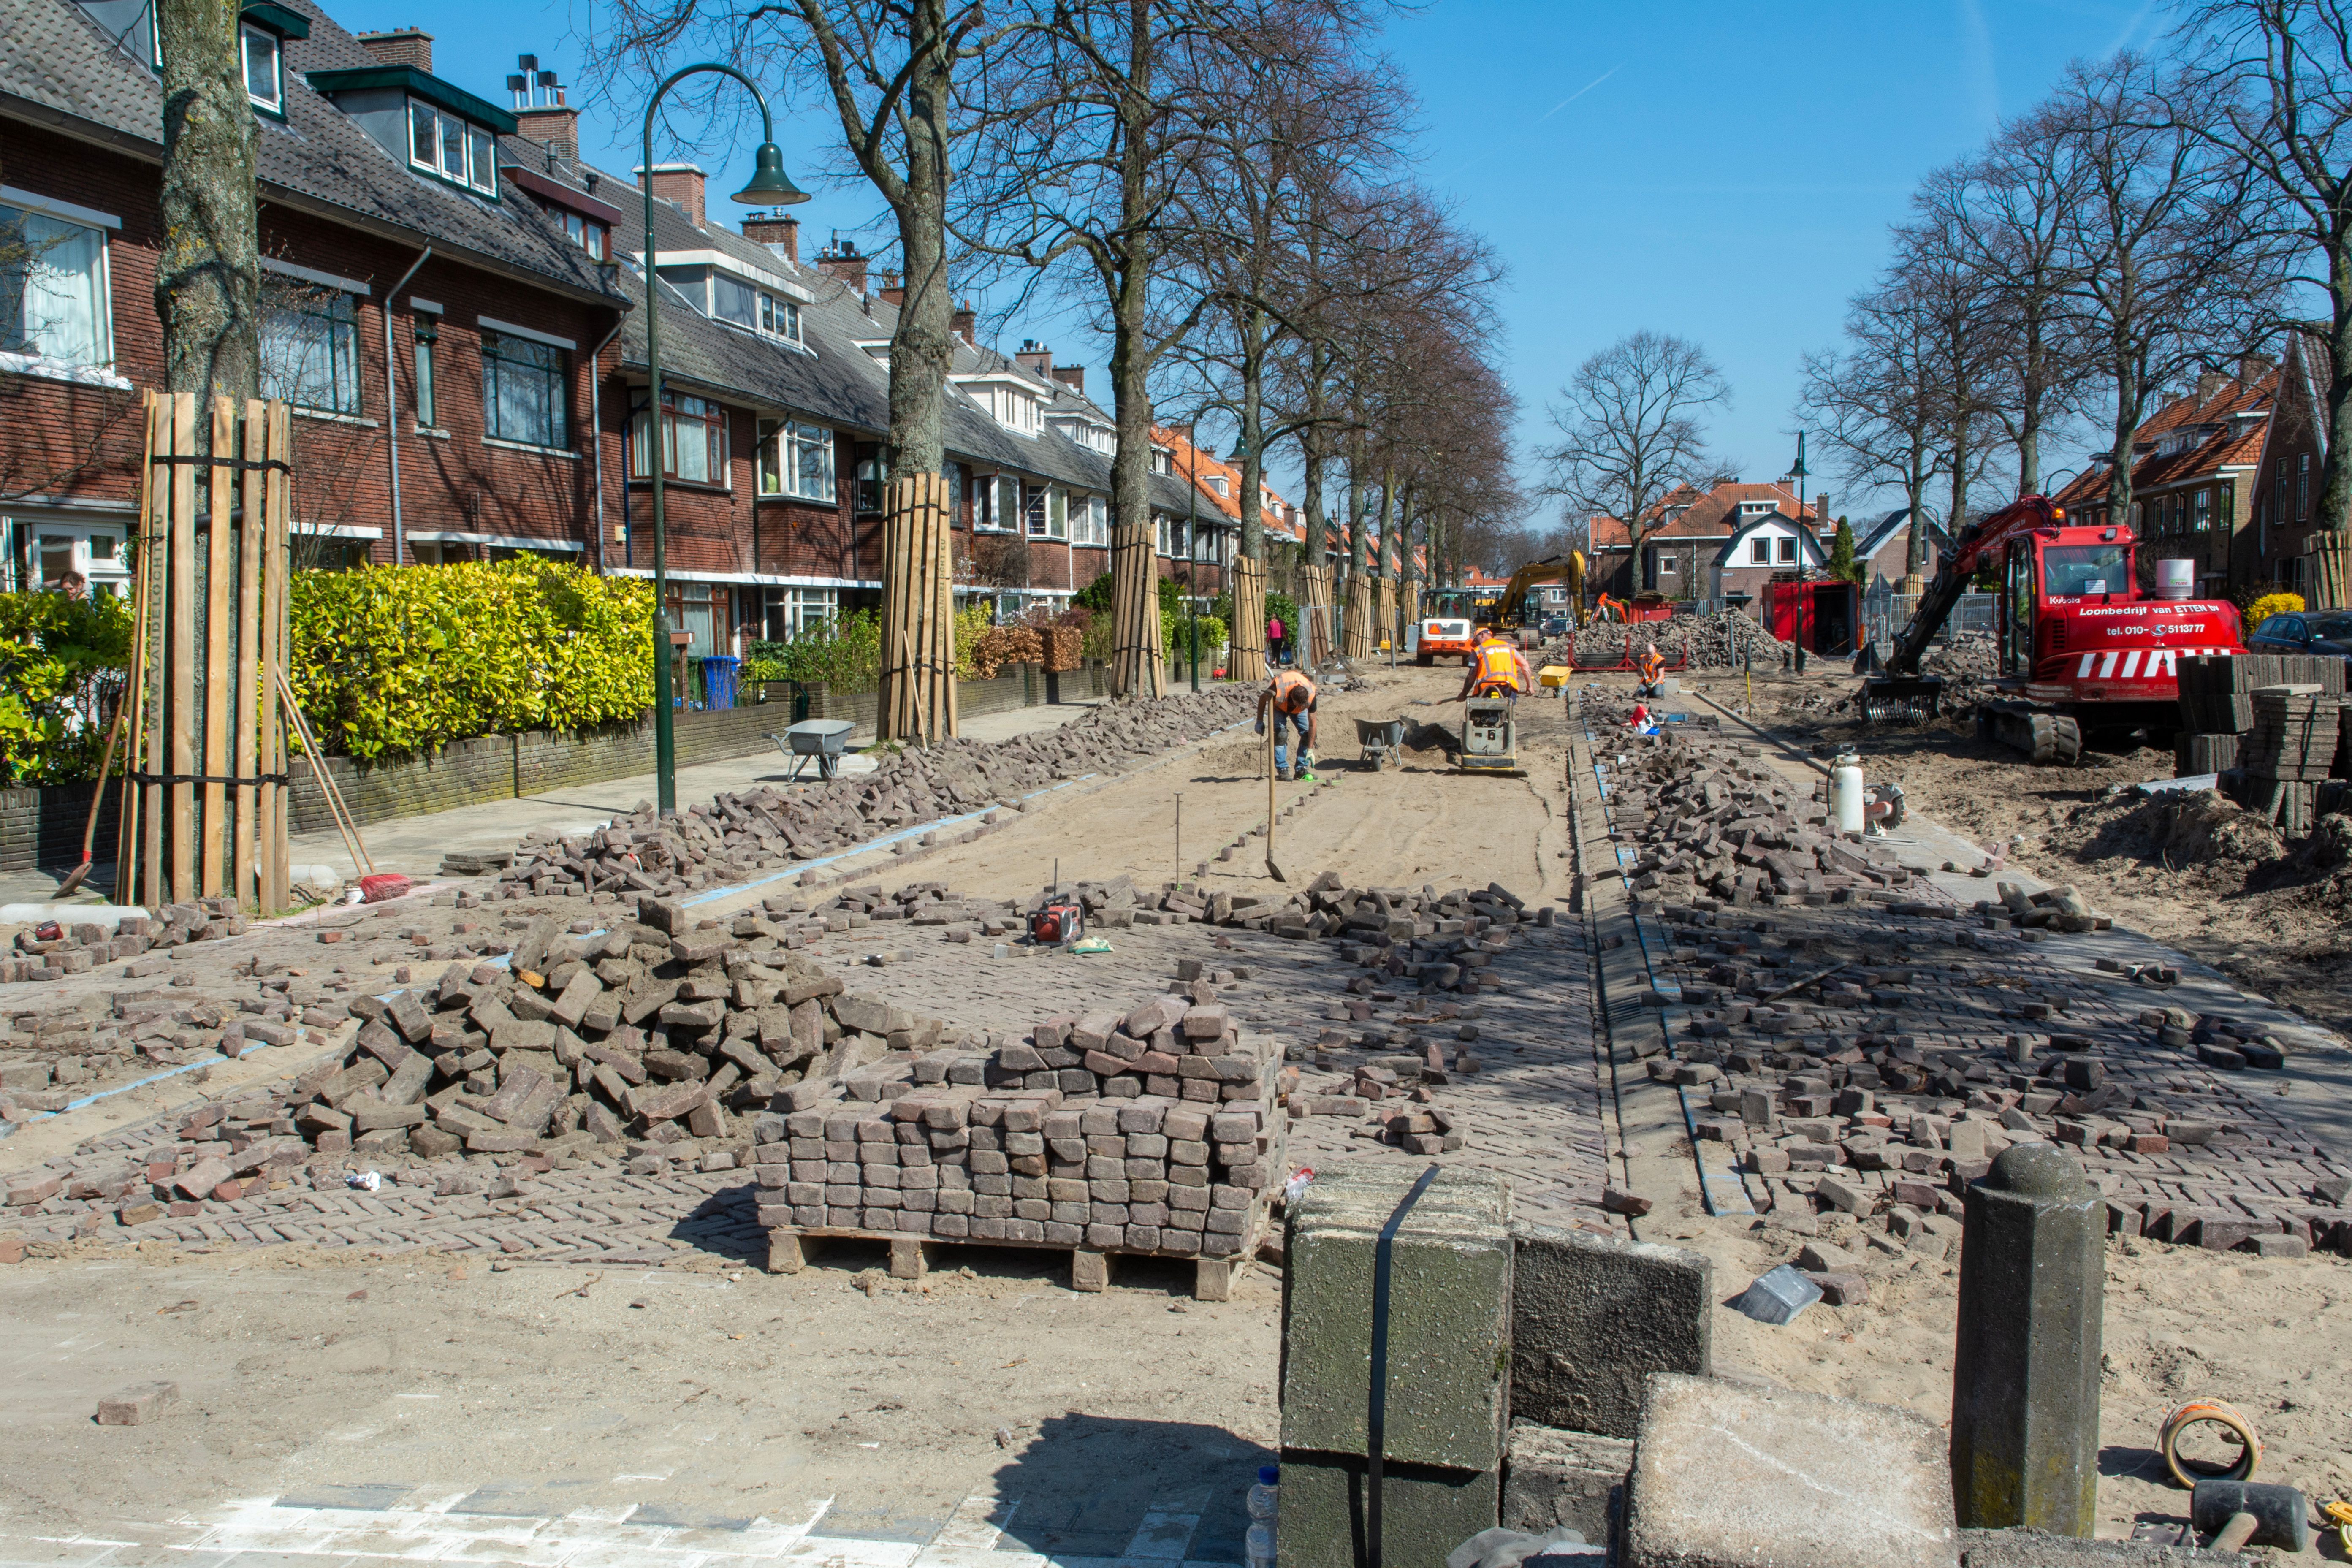
- Lay the Base: Add a layer of gravel or sand, compacting it to create a solid foundation.
4. Laying the Pavers
With your base prepared, you can start laying the pavers:
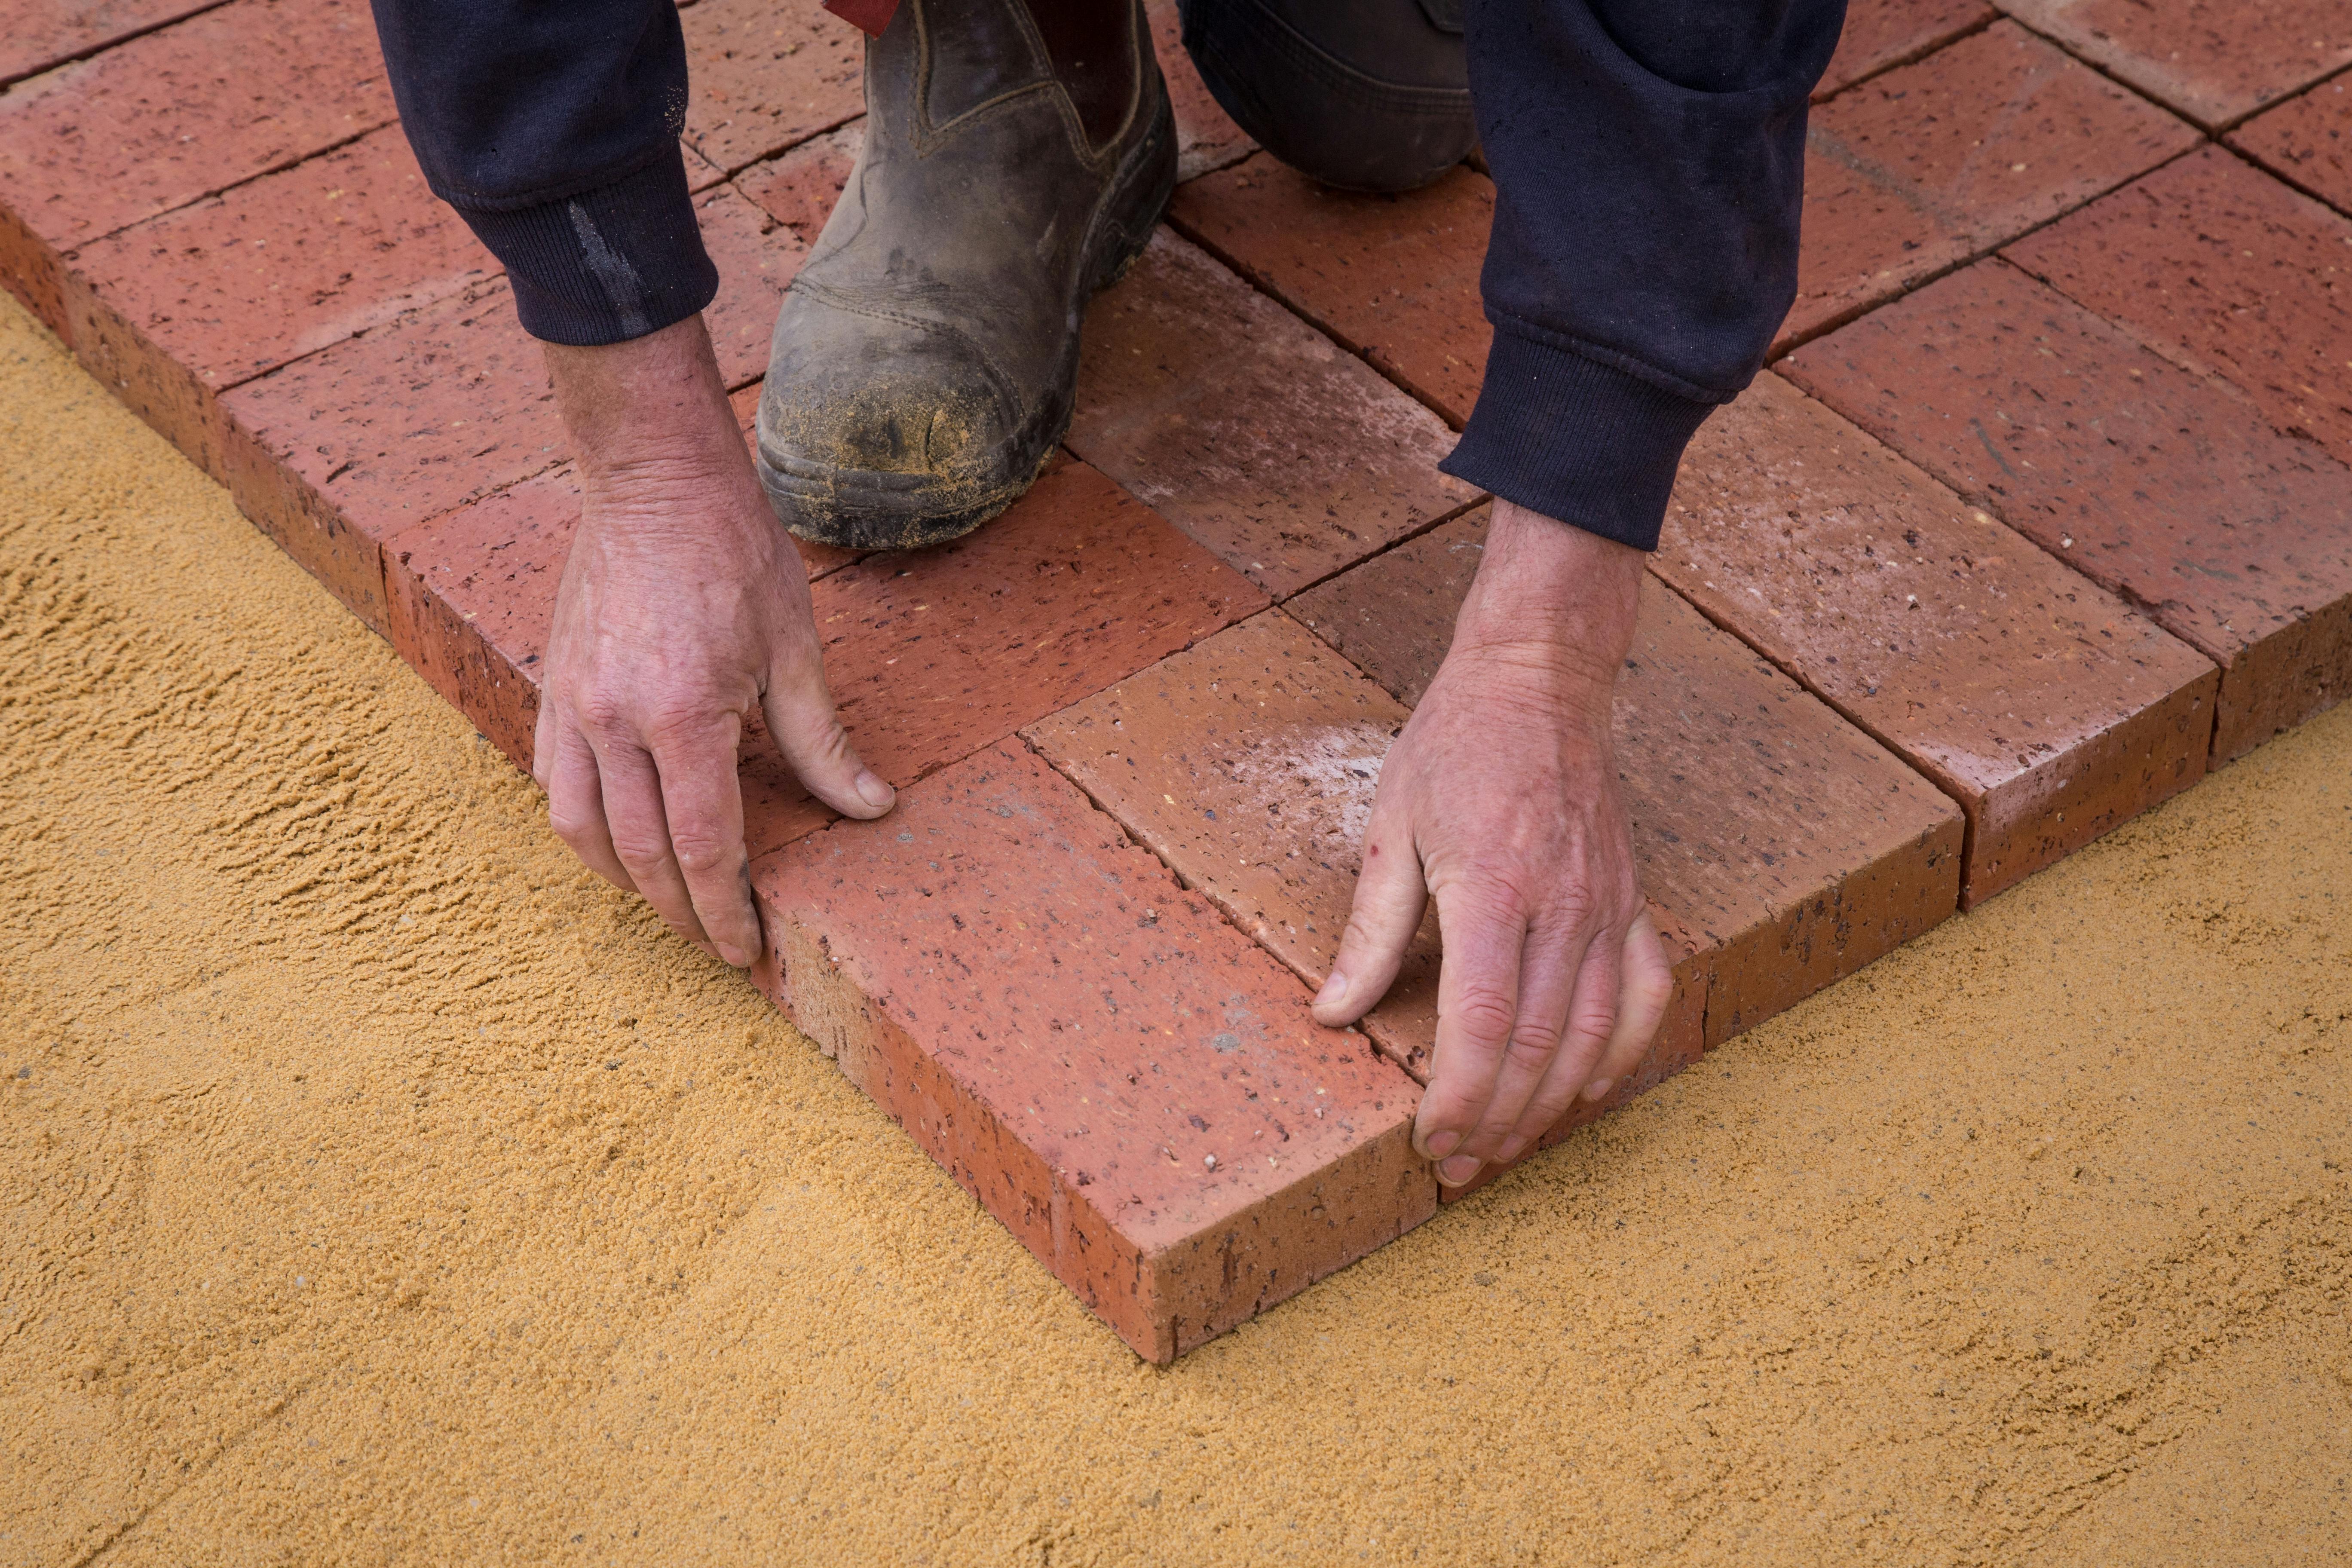
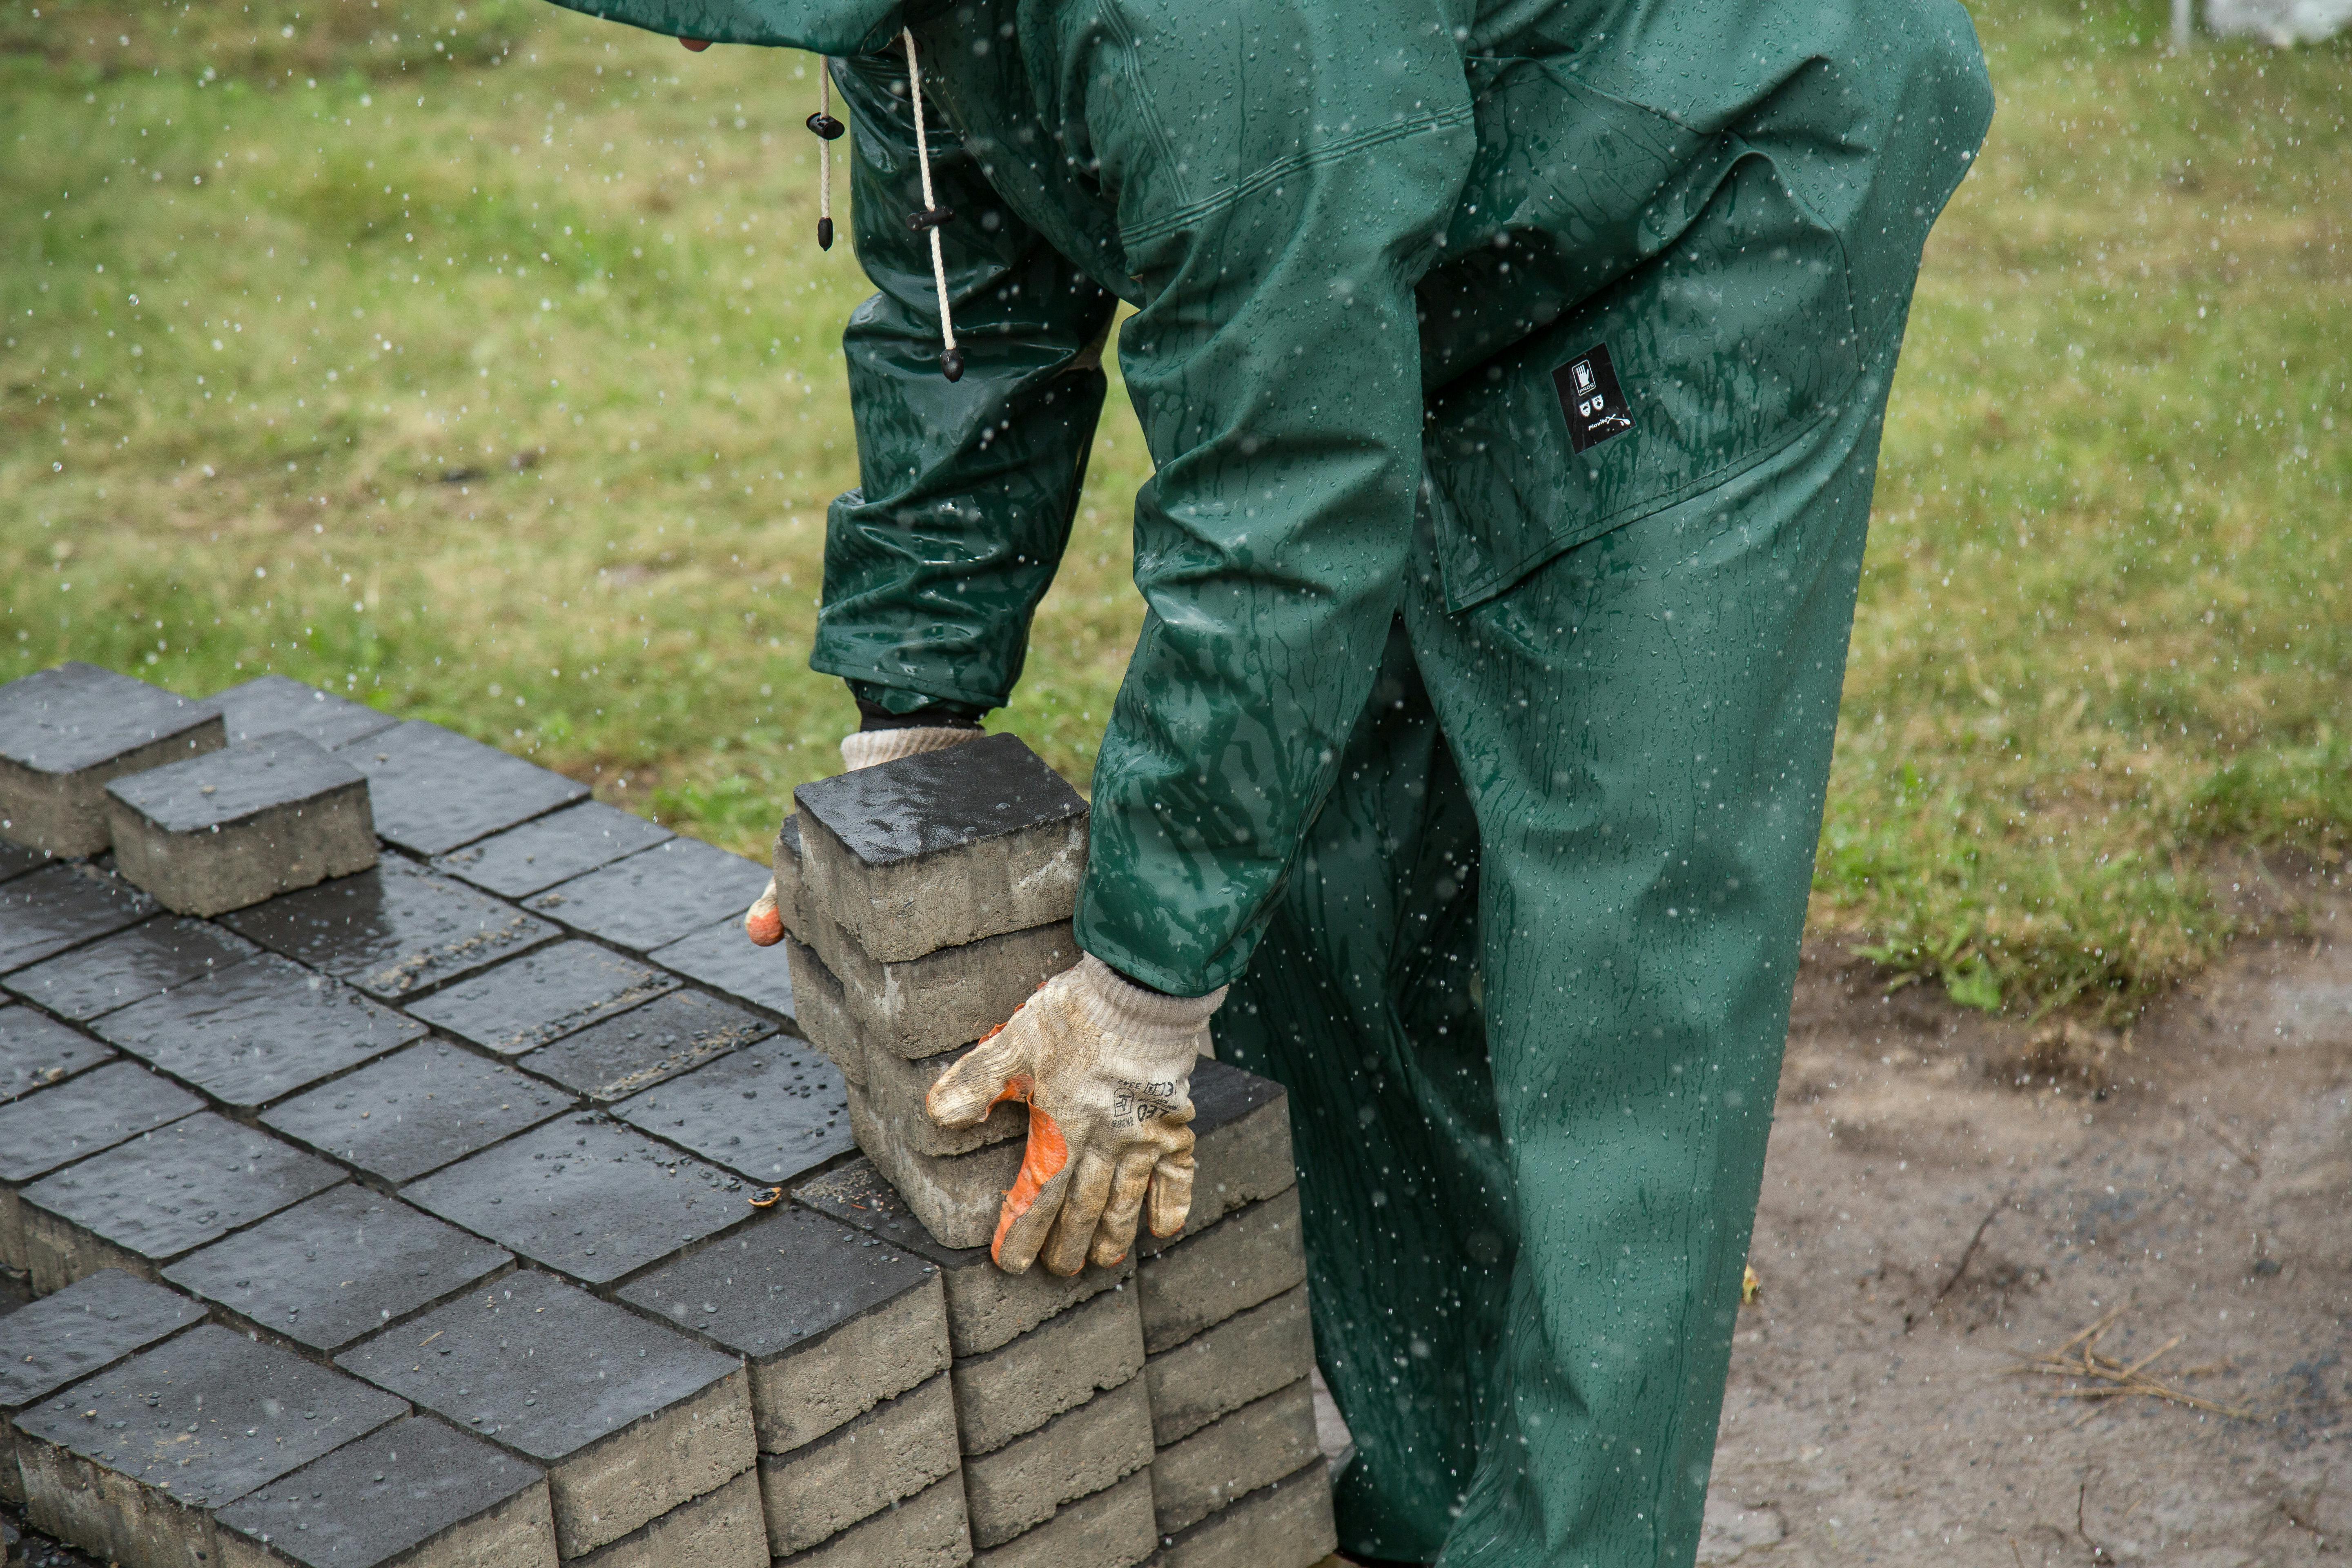
- Start from a Corner: Begin at a corner or edge, laying pavers according to your design.
- Maintain Consistent Gaps: Use spacers to maintain even gaps between pavers for a uniform look.
- Check Alignment: Regularly check the alignment and level of the pavers, adjusting as necessary.
5. Finishing Touches
To complete your project, follow these final steps:
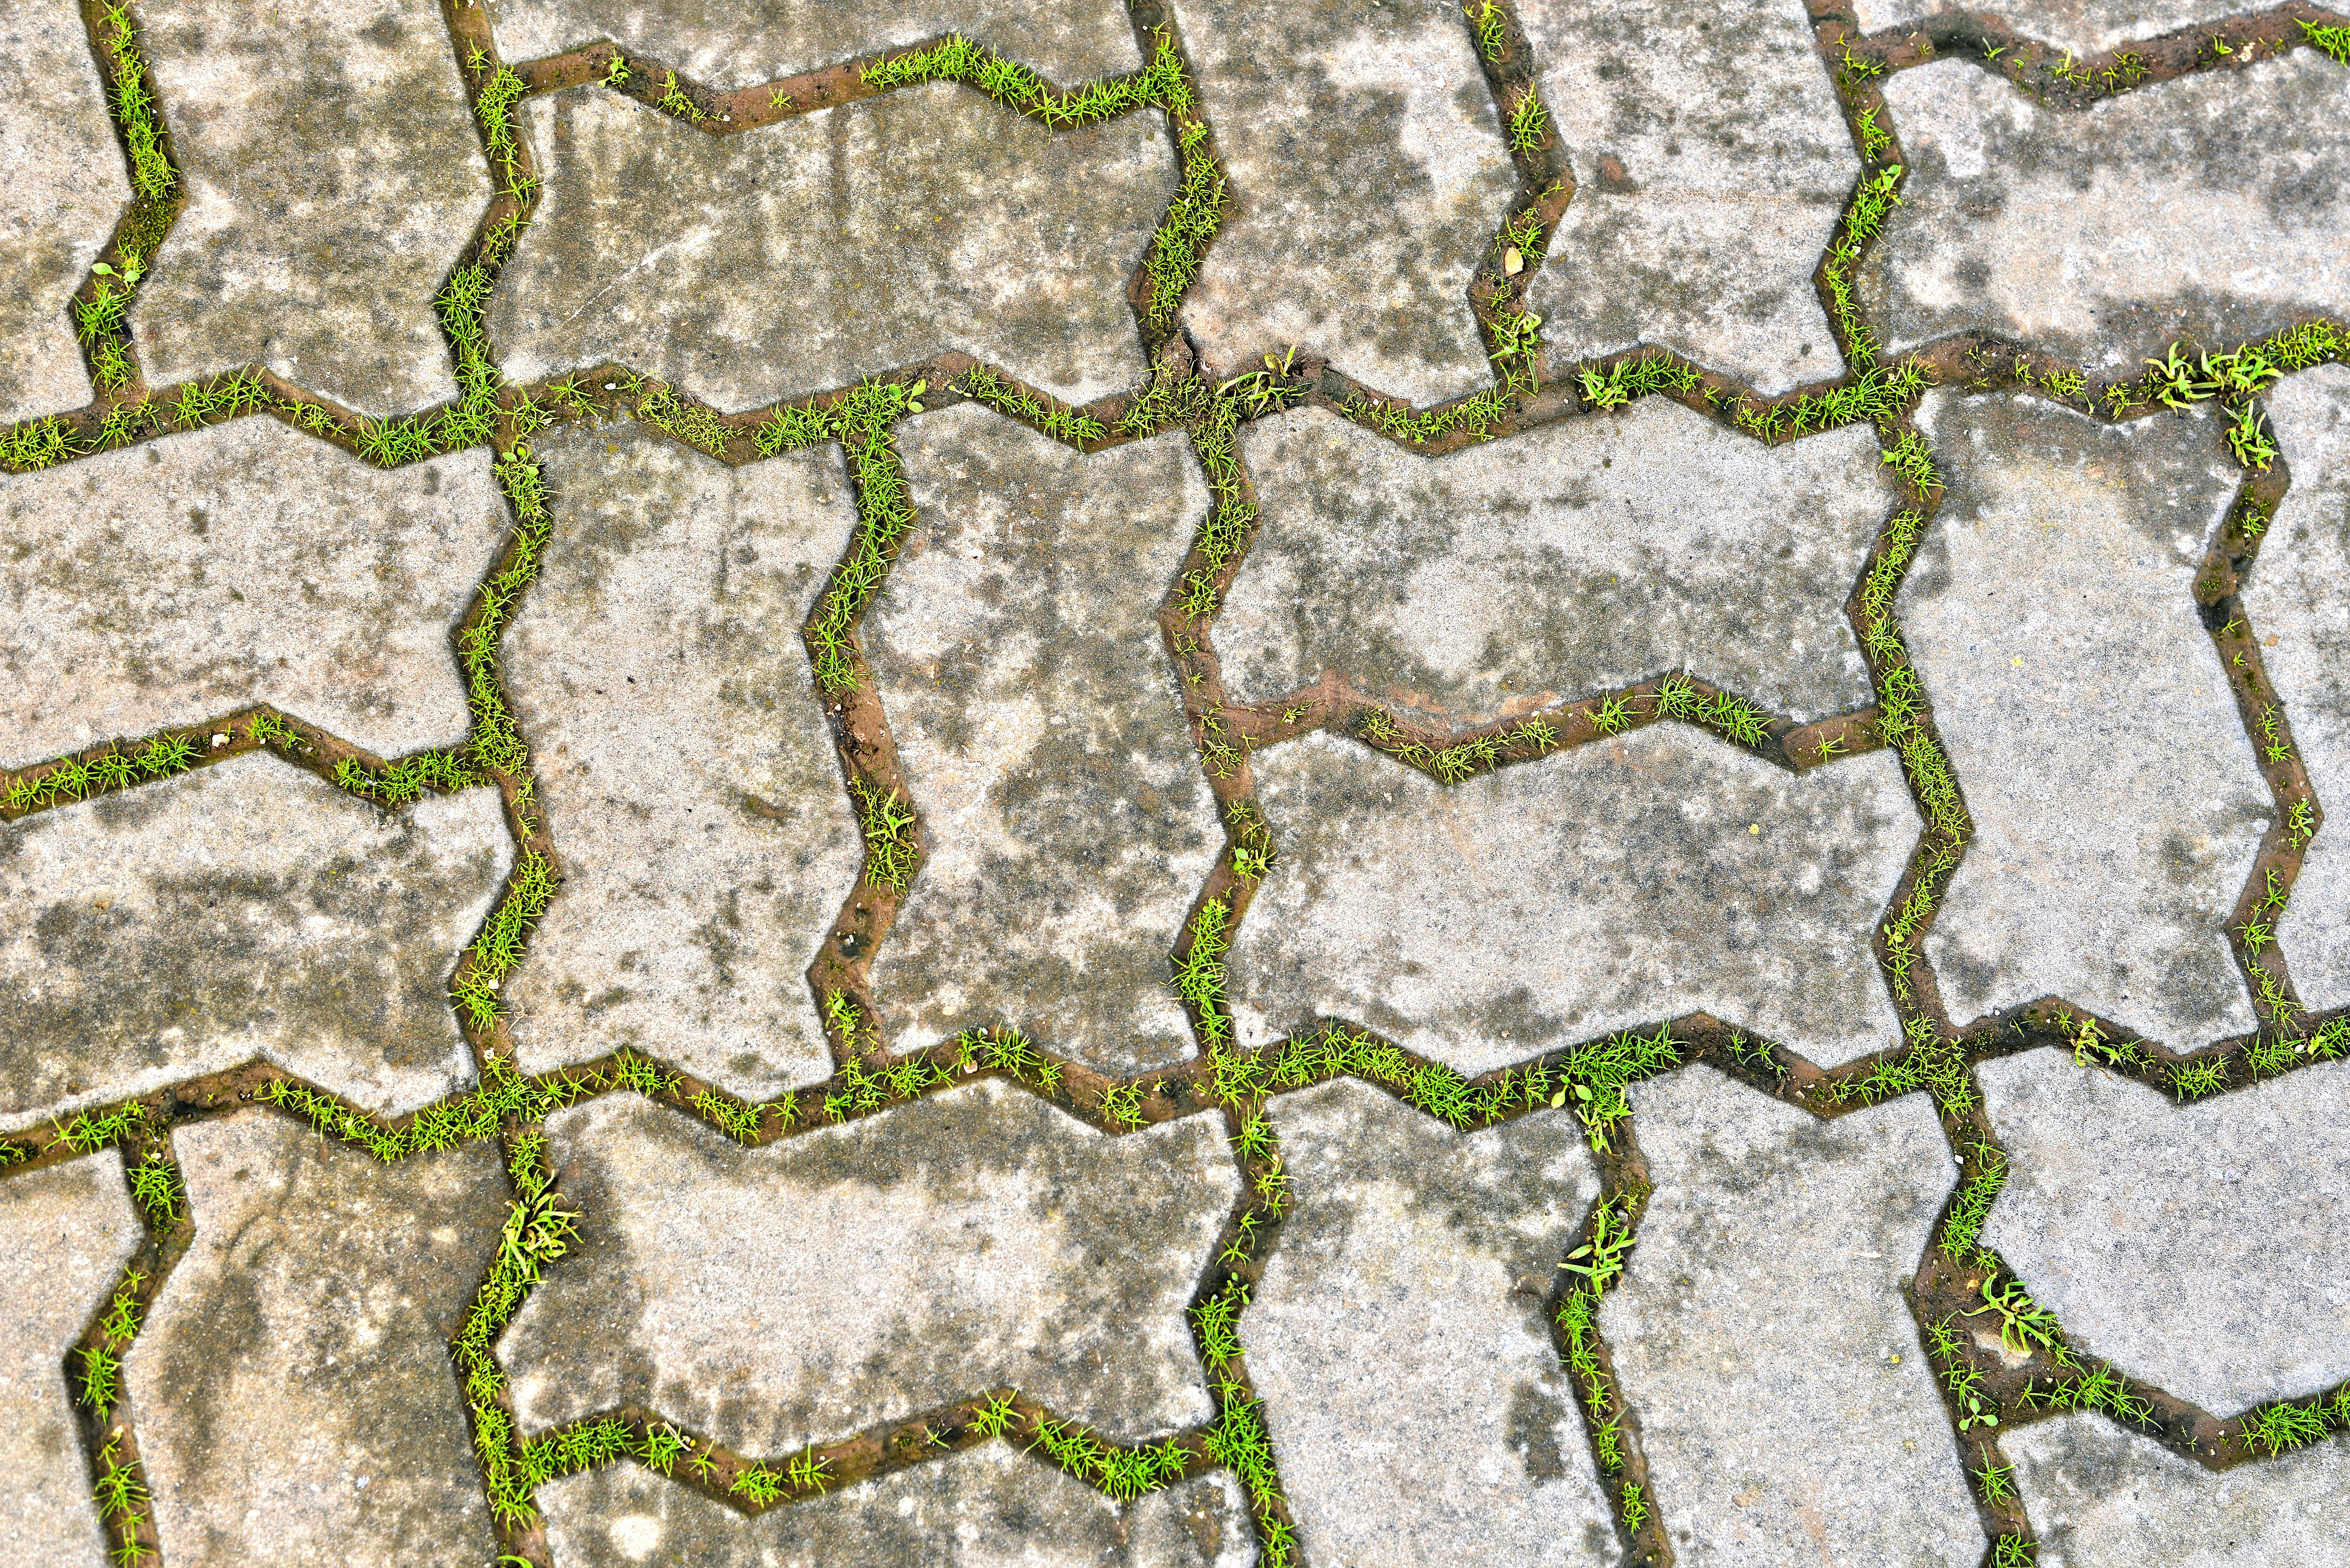
- Add Joint Sand: Sweep sand into the joints between pavers to secure them in place.
- Compact the Surface: Use a plate compactor to ensure the pavers are firmly set.
- Seal the Pavers: Consider applying a sealant to protect the pavers and enhance their color.
Common Mistakes to Avoid
While DIY paver projects can be straightforward, there are common pitfalls to watch out for:
- Skipping Proper Base Preparation: A poorly prepared base can lead to shifting and uneven pavers.
- Ignoring Slope and Drainage: Ensure your installation accounts for water runoff to prevent pooling.
- Not Allowing for Expansion: Leave small gaps for expansion and contraction due to temperature changes.
Conclusion: Enjoying Your New Outdoor Space
With the right preparation and execution, your DIY paver project can transform your outdoor area into a beautiful and functional space. Whether you're hosting family gatherings or enjoying a quiet evening outside, your new paver installation will be a valuable addition to your home. For more detailed assistance or professional services, consider reaching out to Diablo Pavers. Our team in Concord, California, is ready to help you achieve the outdoor space of your dreams.