Introduction to DIY Paver Projects
Are you a Concord, California homeowner looking to enhance your outdoor space but unsure where to start? Diving into a DIY paver project can be a rewarding and cost-effective way to transform your yard. This beginner-friendly guide will walk you through the essentials, helping you create a beautiful outdoor area that complements your home.
Why Choose Pavers for Your Outdoor Project?
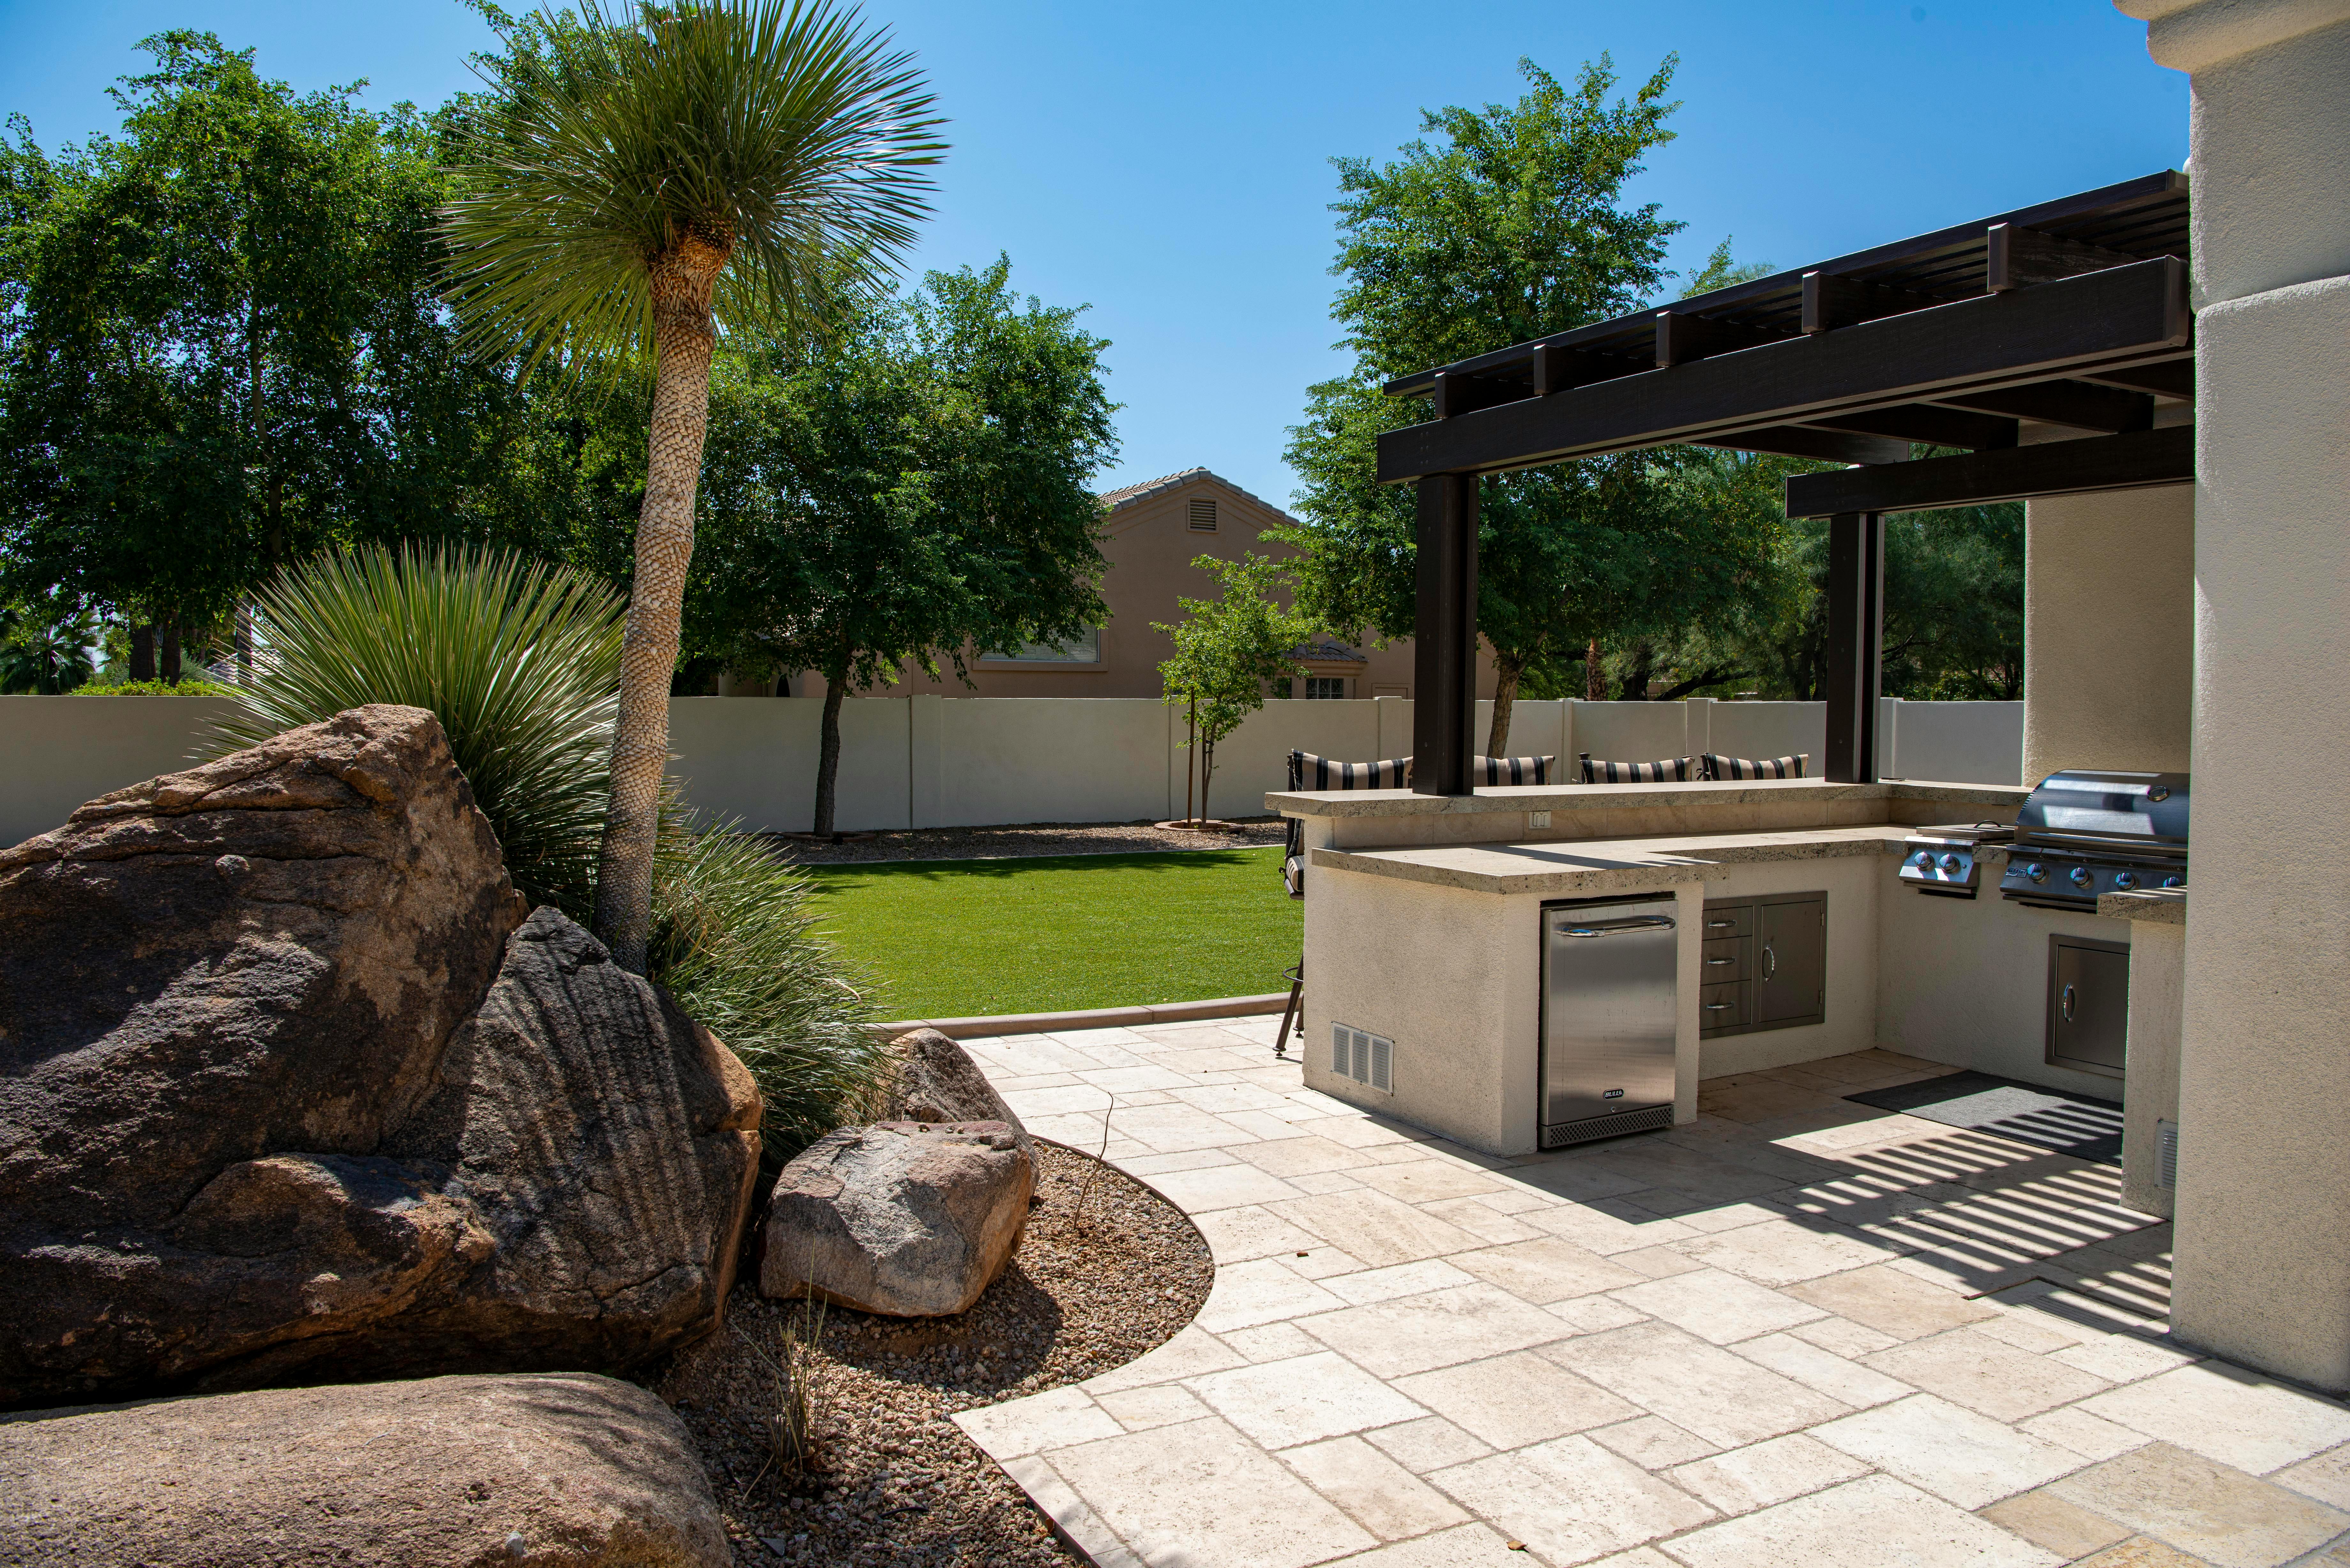
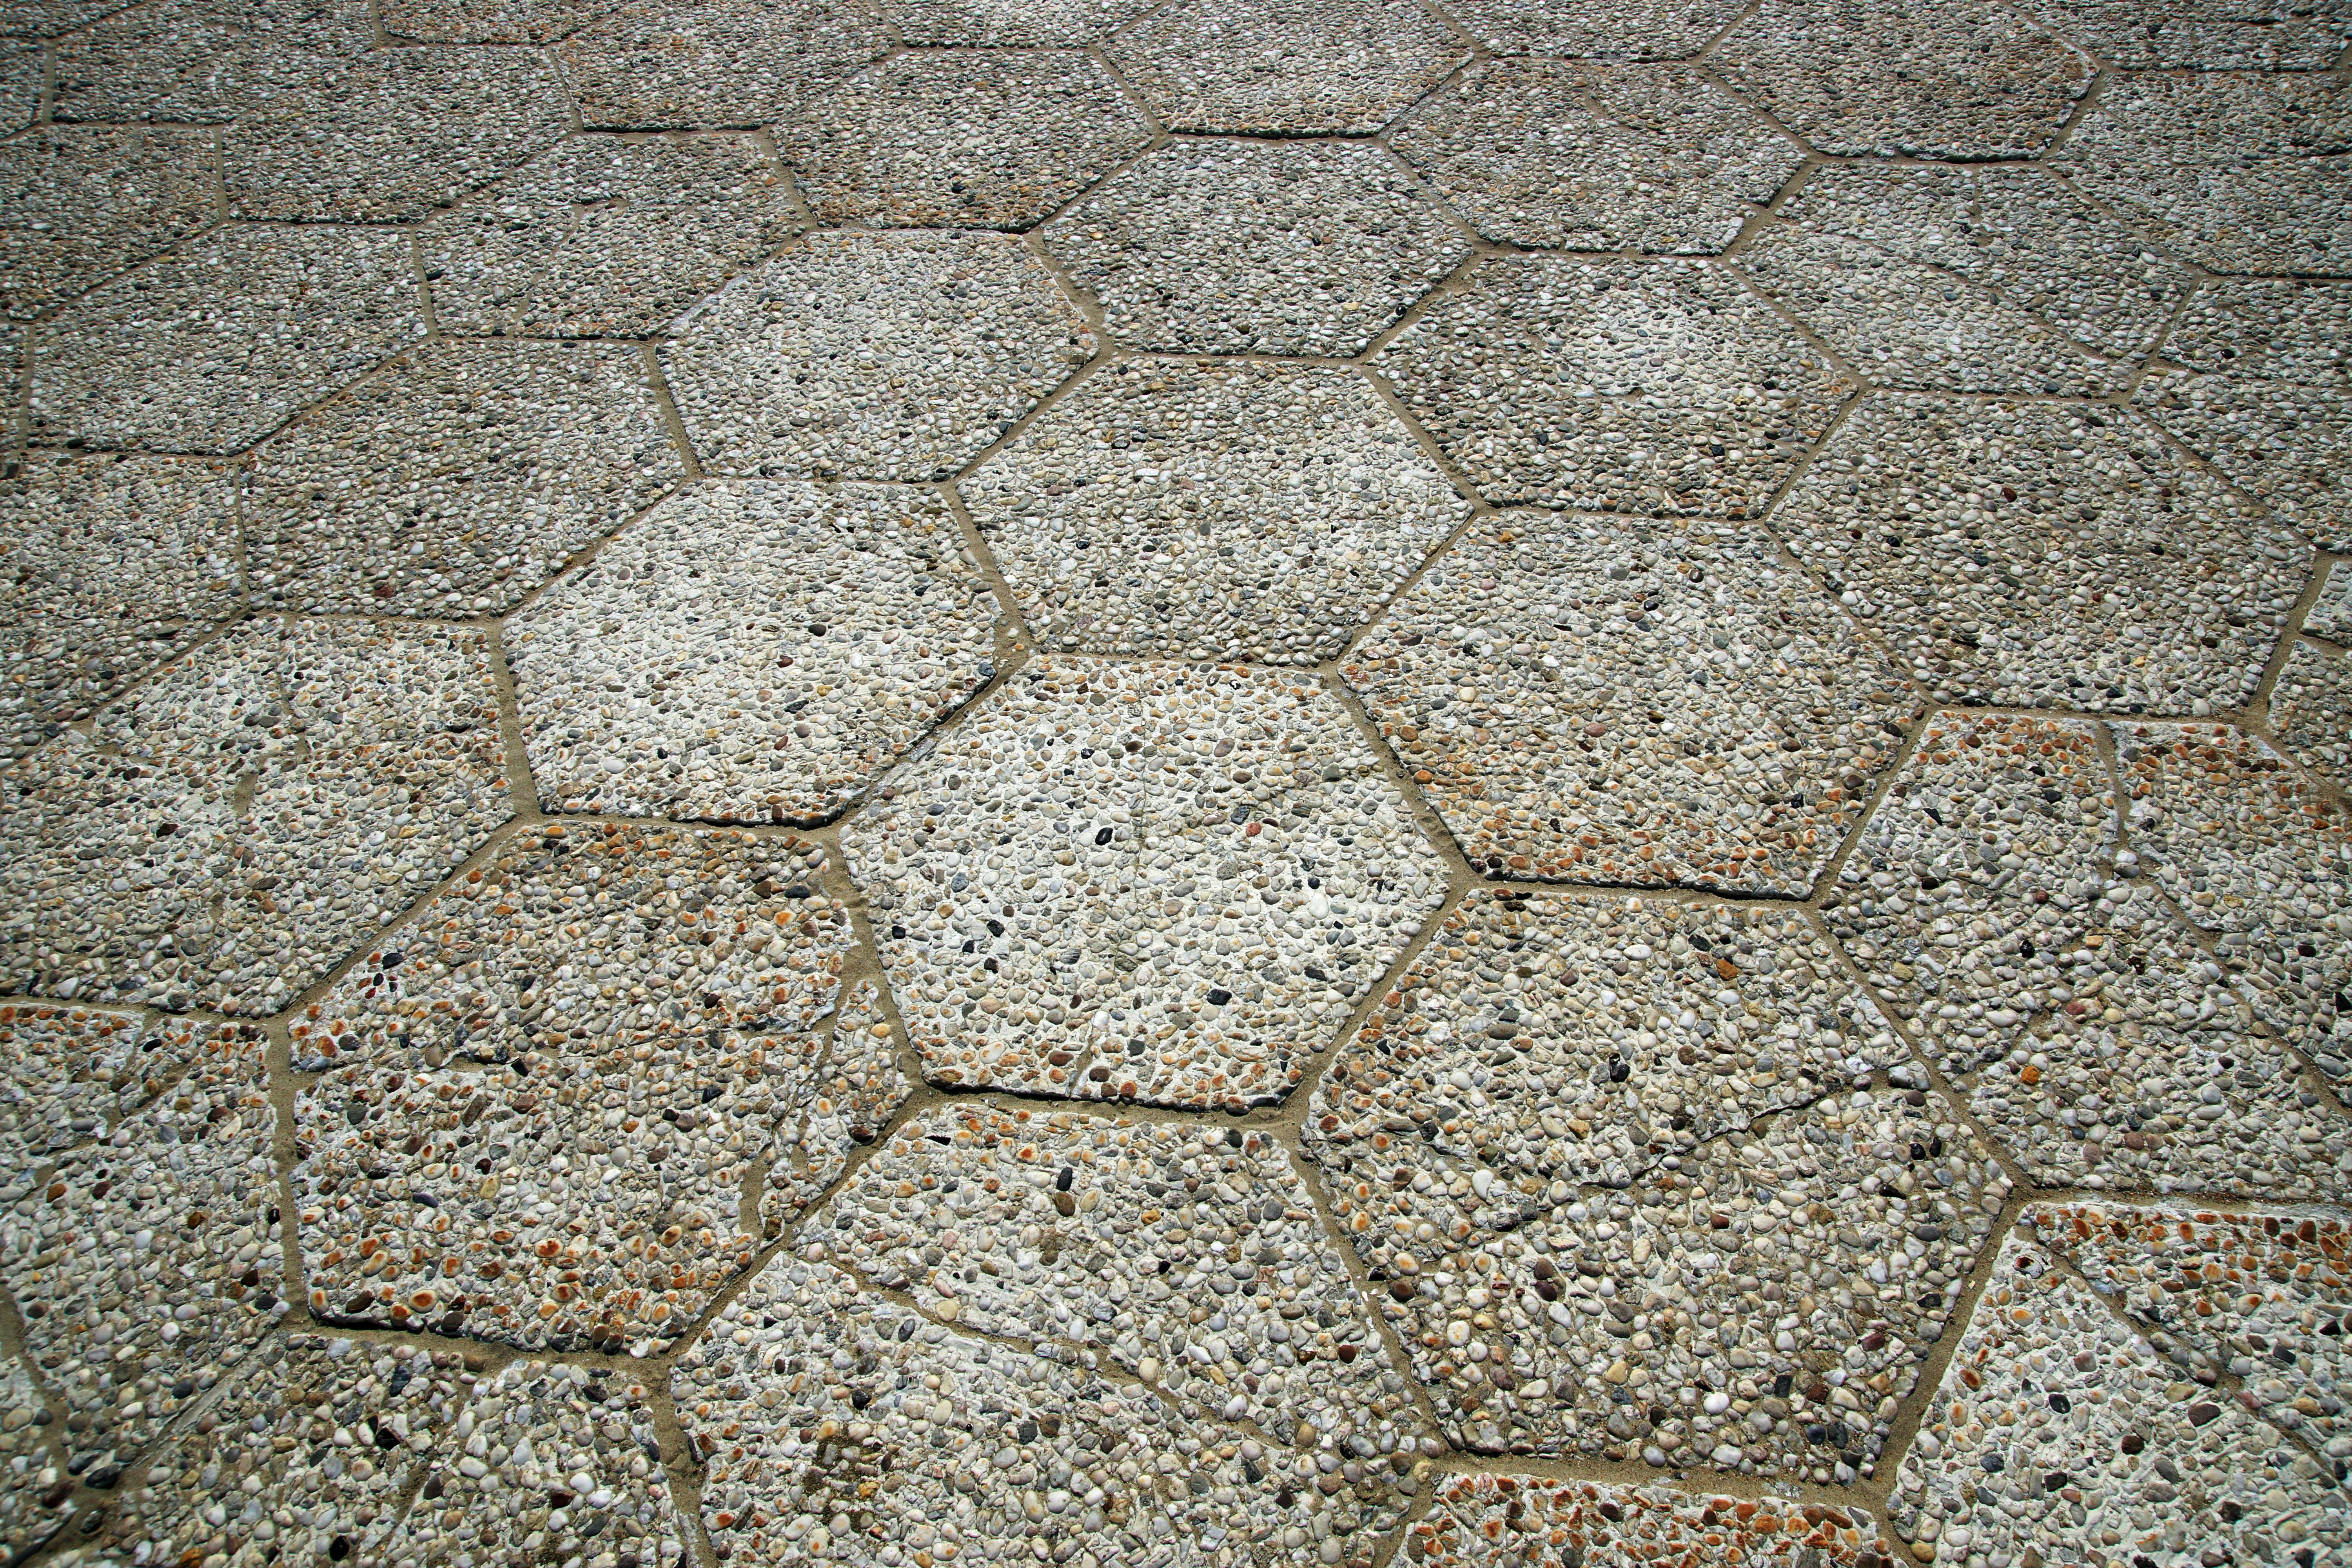
Pavers offer a versatile and durable solution for outdoor remodeling. They come in various materials, colors, and patterns, allowing you to customize your space according to your taste and the architectural style of your home. Whether you're planning a new patio, walkway, or garden path, pavers are an excellent choice for their resilience and aesthetic appeal.
Benefits of Choosing Pavers
- Durability: Pavers are built to withstand harsh weather conditions, including the sunny days and occasional rain in Concord.
- Low Maintenance: Once installed, pavers require minimal upkeep, making them ideal for busy homeowners.
- Eco-Friendly: Many paver options are made from sustainable materials, aligning with environmentally conscious living.
Planning Your DIY Paver Project
Before you start laying pavers, careful planning is crucial. Here's how to prepare:
1. Define Your Project’s Purpose
Determine what type of space you're creating. Is it a patio for entertaining guests, a pathway through your garden, or a driveway? This will guide your material choices and design.
2. Measure Your Space
Accurate measurements ensure you purchase the right amount of materials. Use a tape measure to determine the length and width of the area you plan to pave.
3. Choose Your Materials
Consider factors like color, texture, and durability when selecting your pavers. Local suppliers in Concord can provide you with a variety of options suitable for different uses.
Step-by-Step Guide to Installing Pavers
Follow these steps to successfully complete your DIY paver project.
Step 1: Gather Your Tools and Materials
- Pavers
- Gravel and Sand
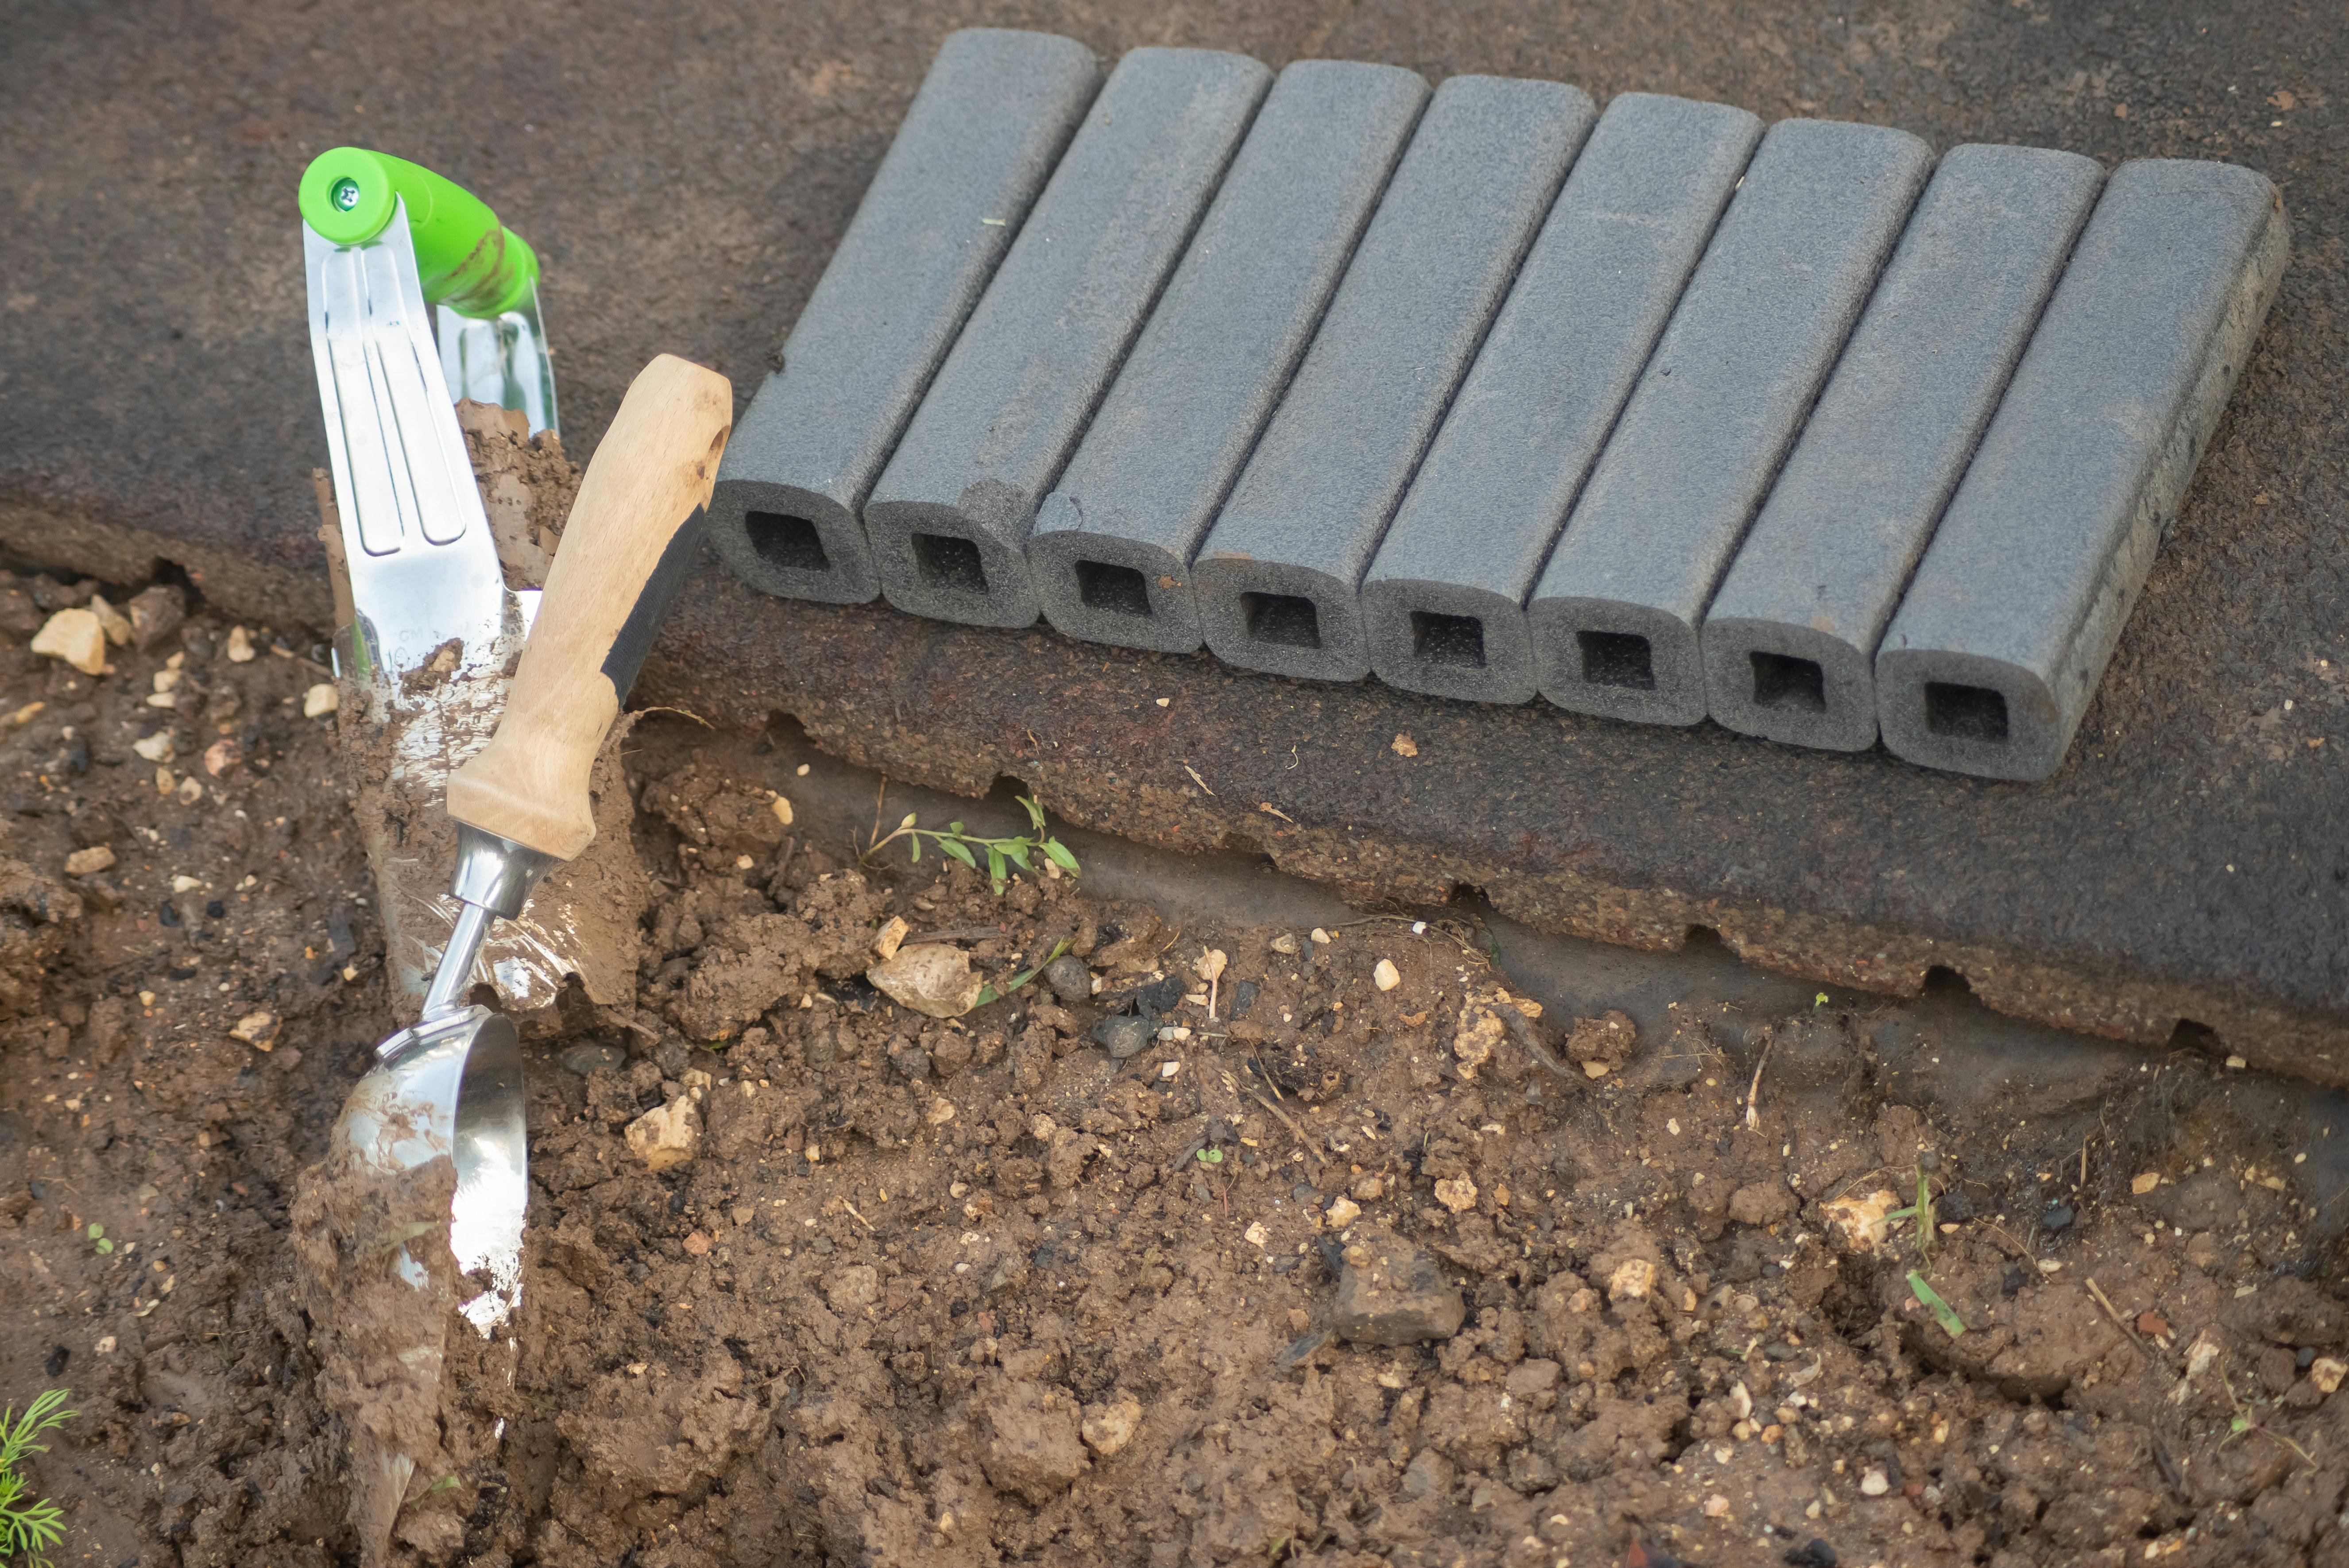
- Shovel and Rake
- Rubber Mallet
- Level
- Garden Hose
Step 2: Prepare the Ground
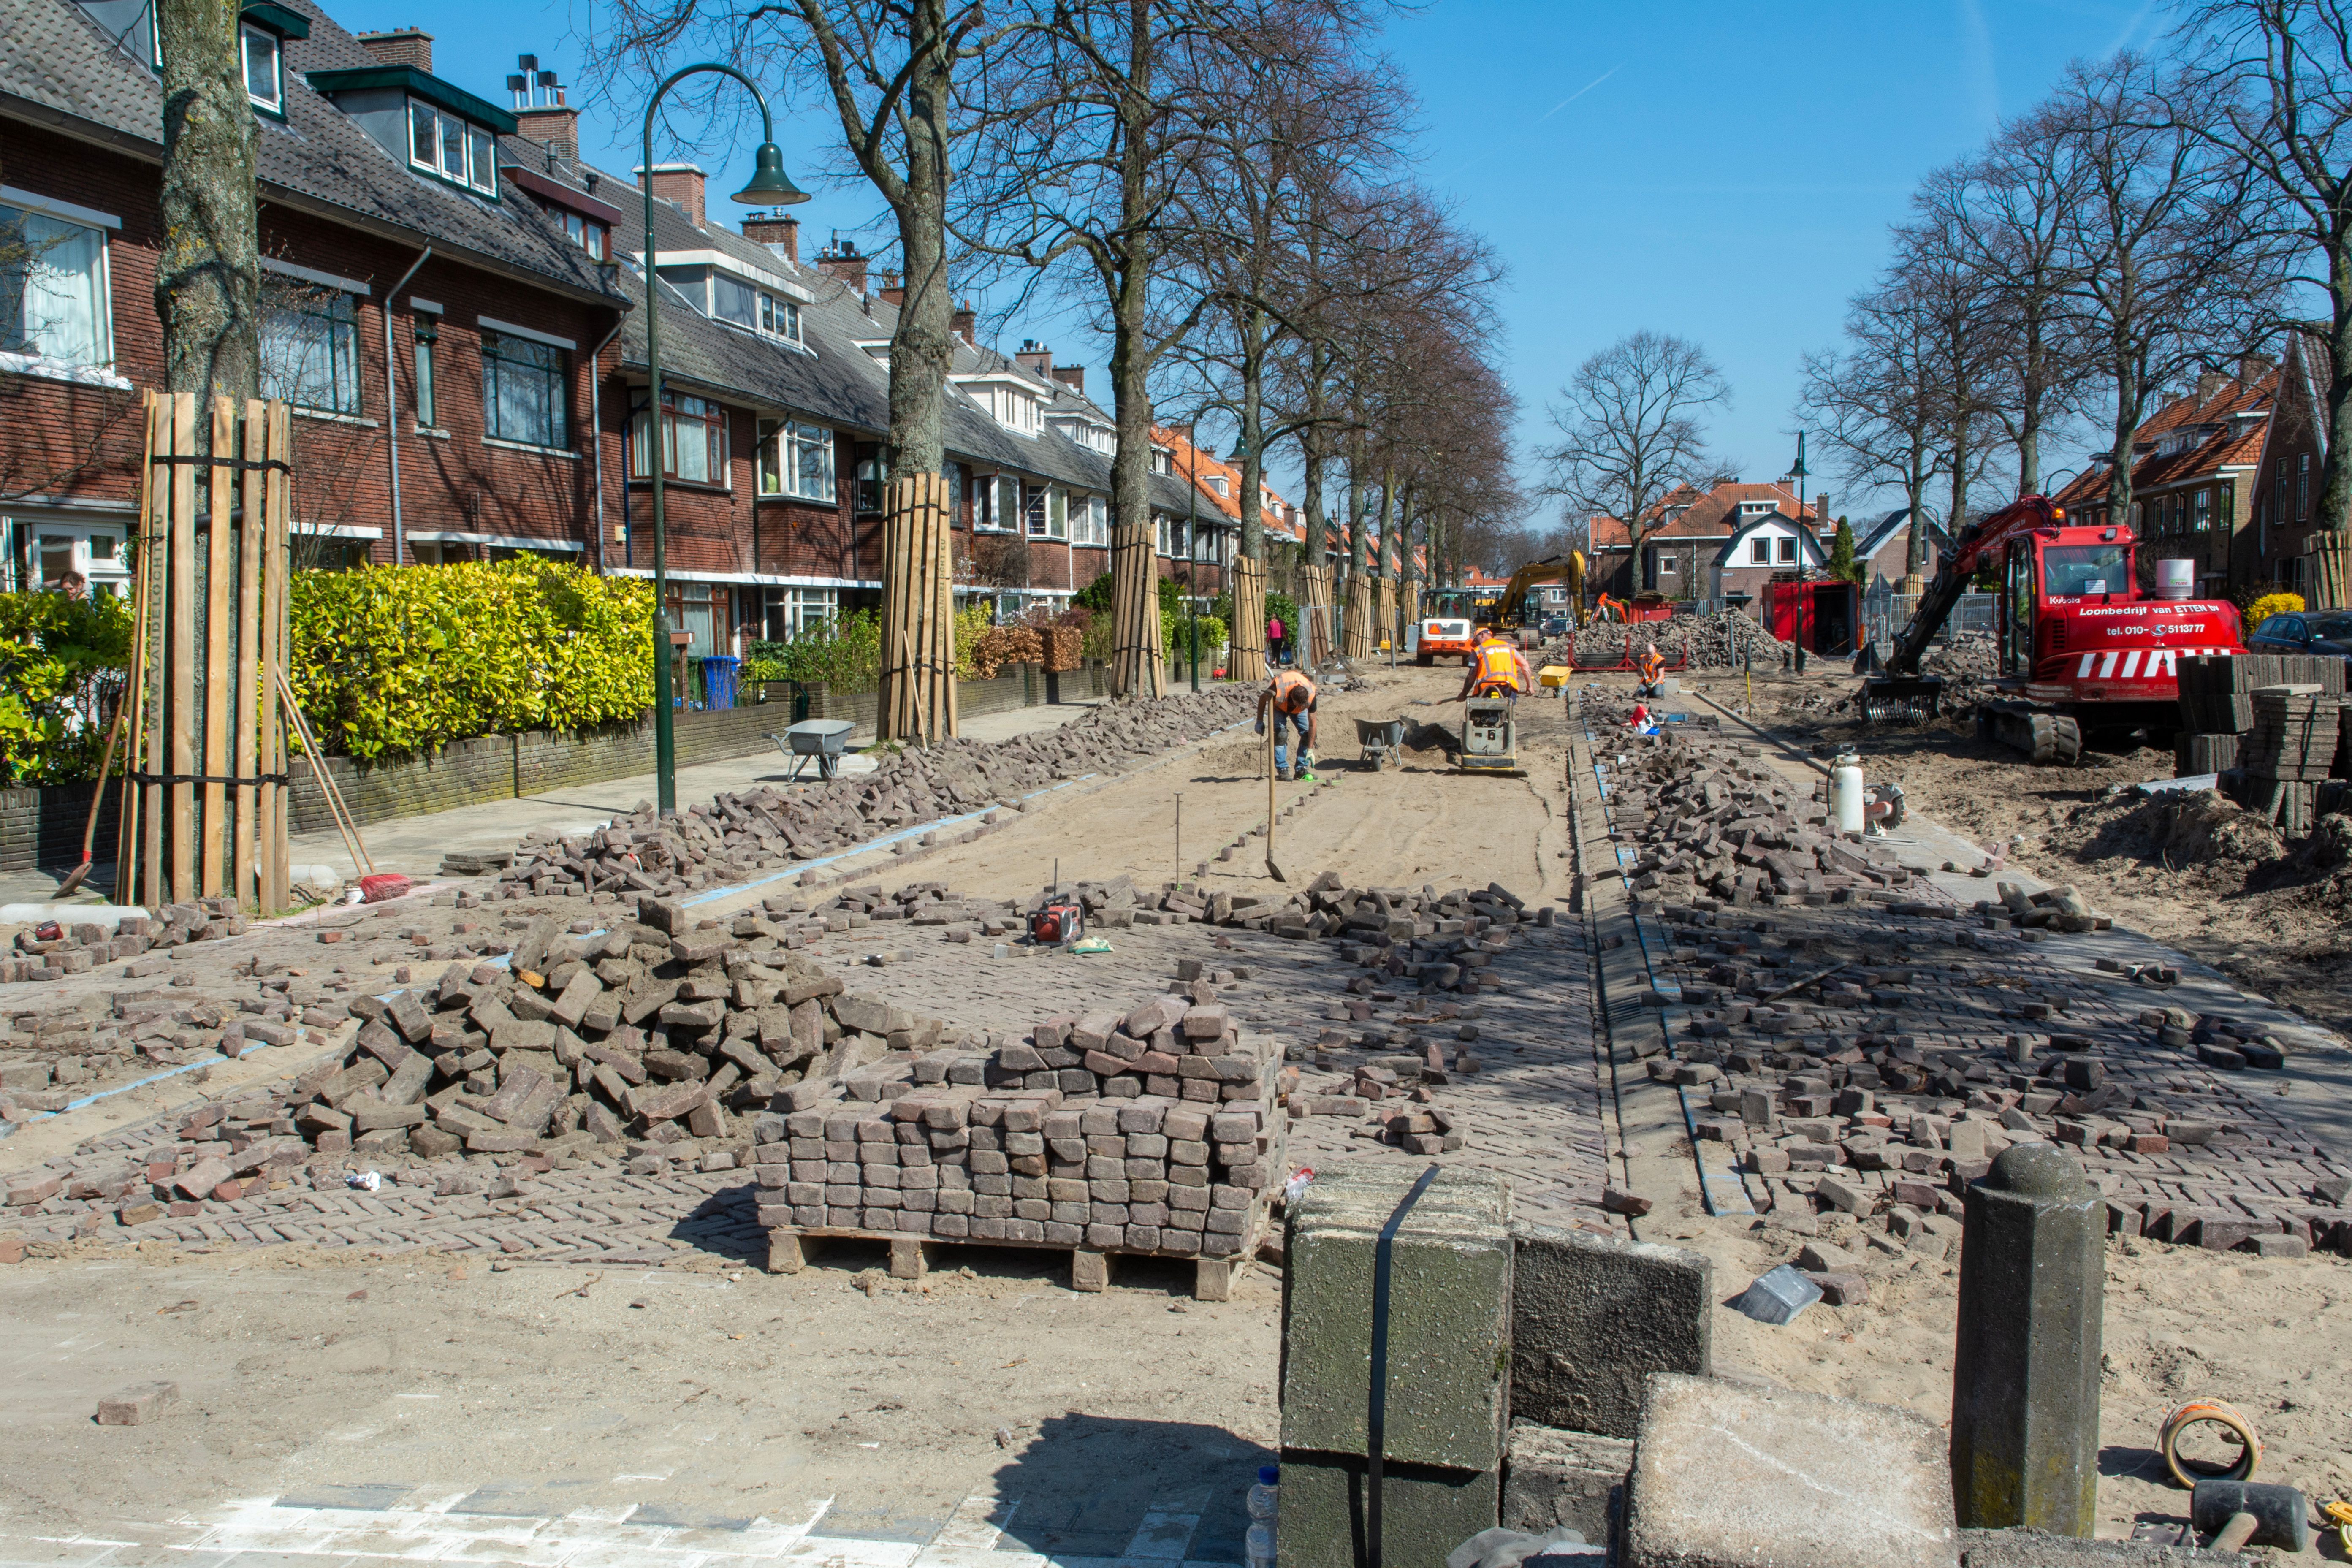
Excavate the area to a depth of about 6-8 inches, depending on the thickness of your pavers. Make sure the base is level and compact the soil using a plate compactor.
Step 3: Lay the Base
Spread a 4-inch layer of gravel over the compacted soil. Use a rake to level it, then compact it again. Add a 1-inch layer of sand on top and level it out.
Step 4: Place the Pavers
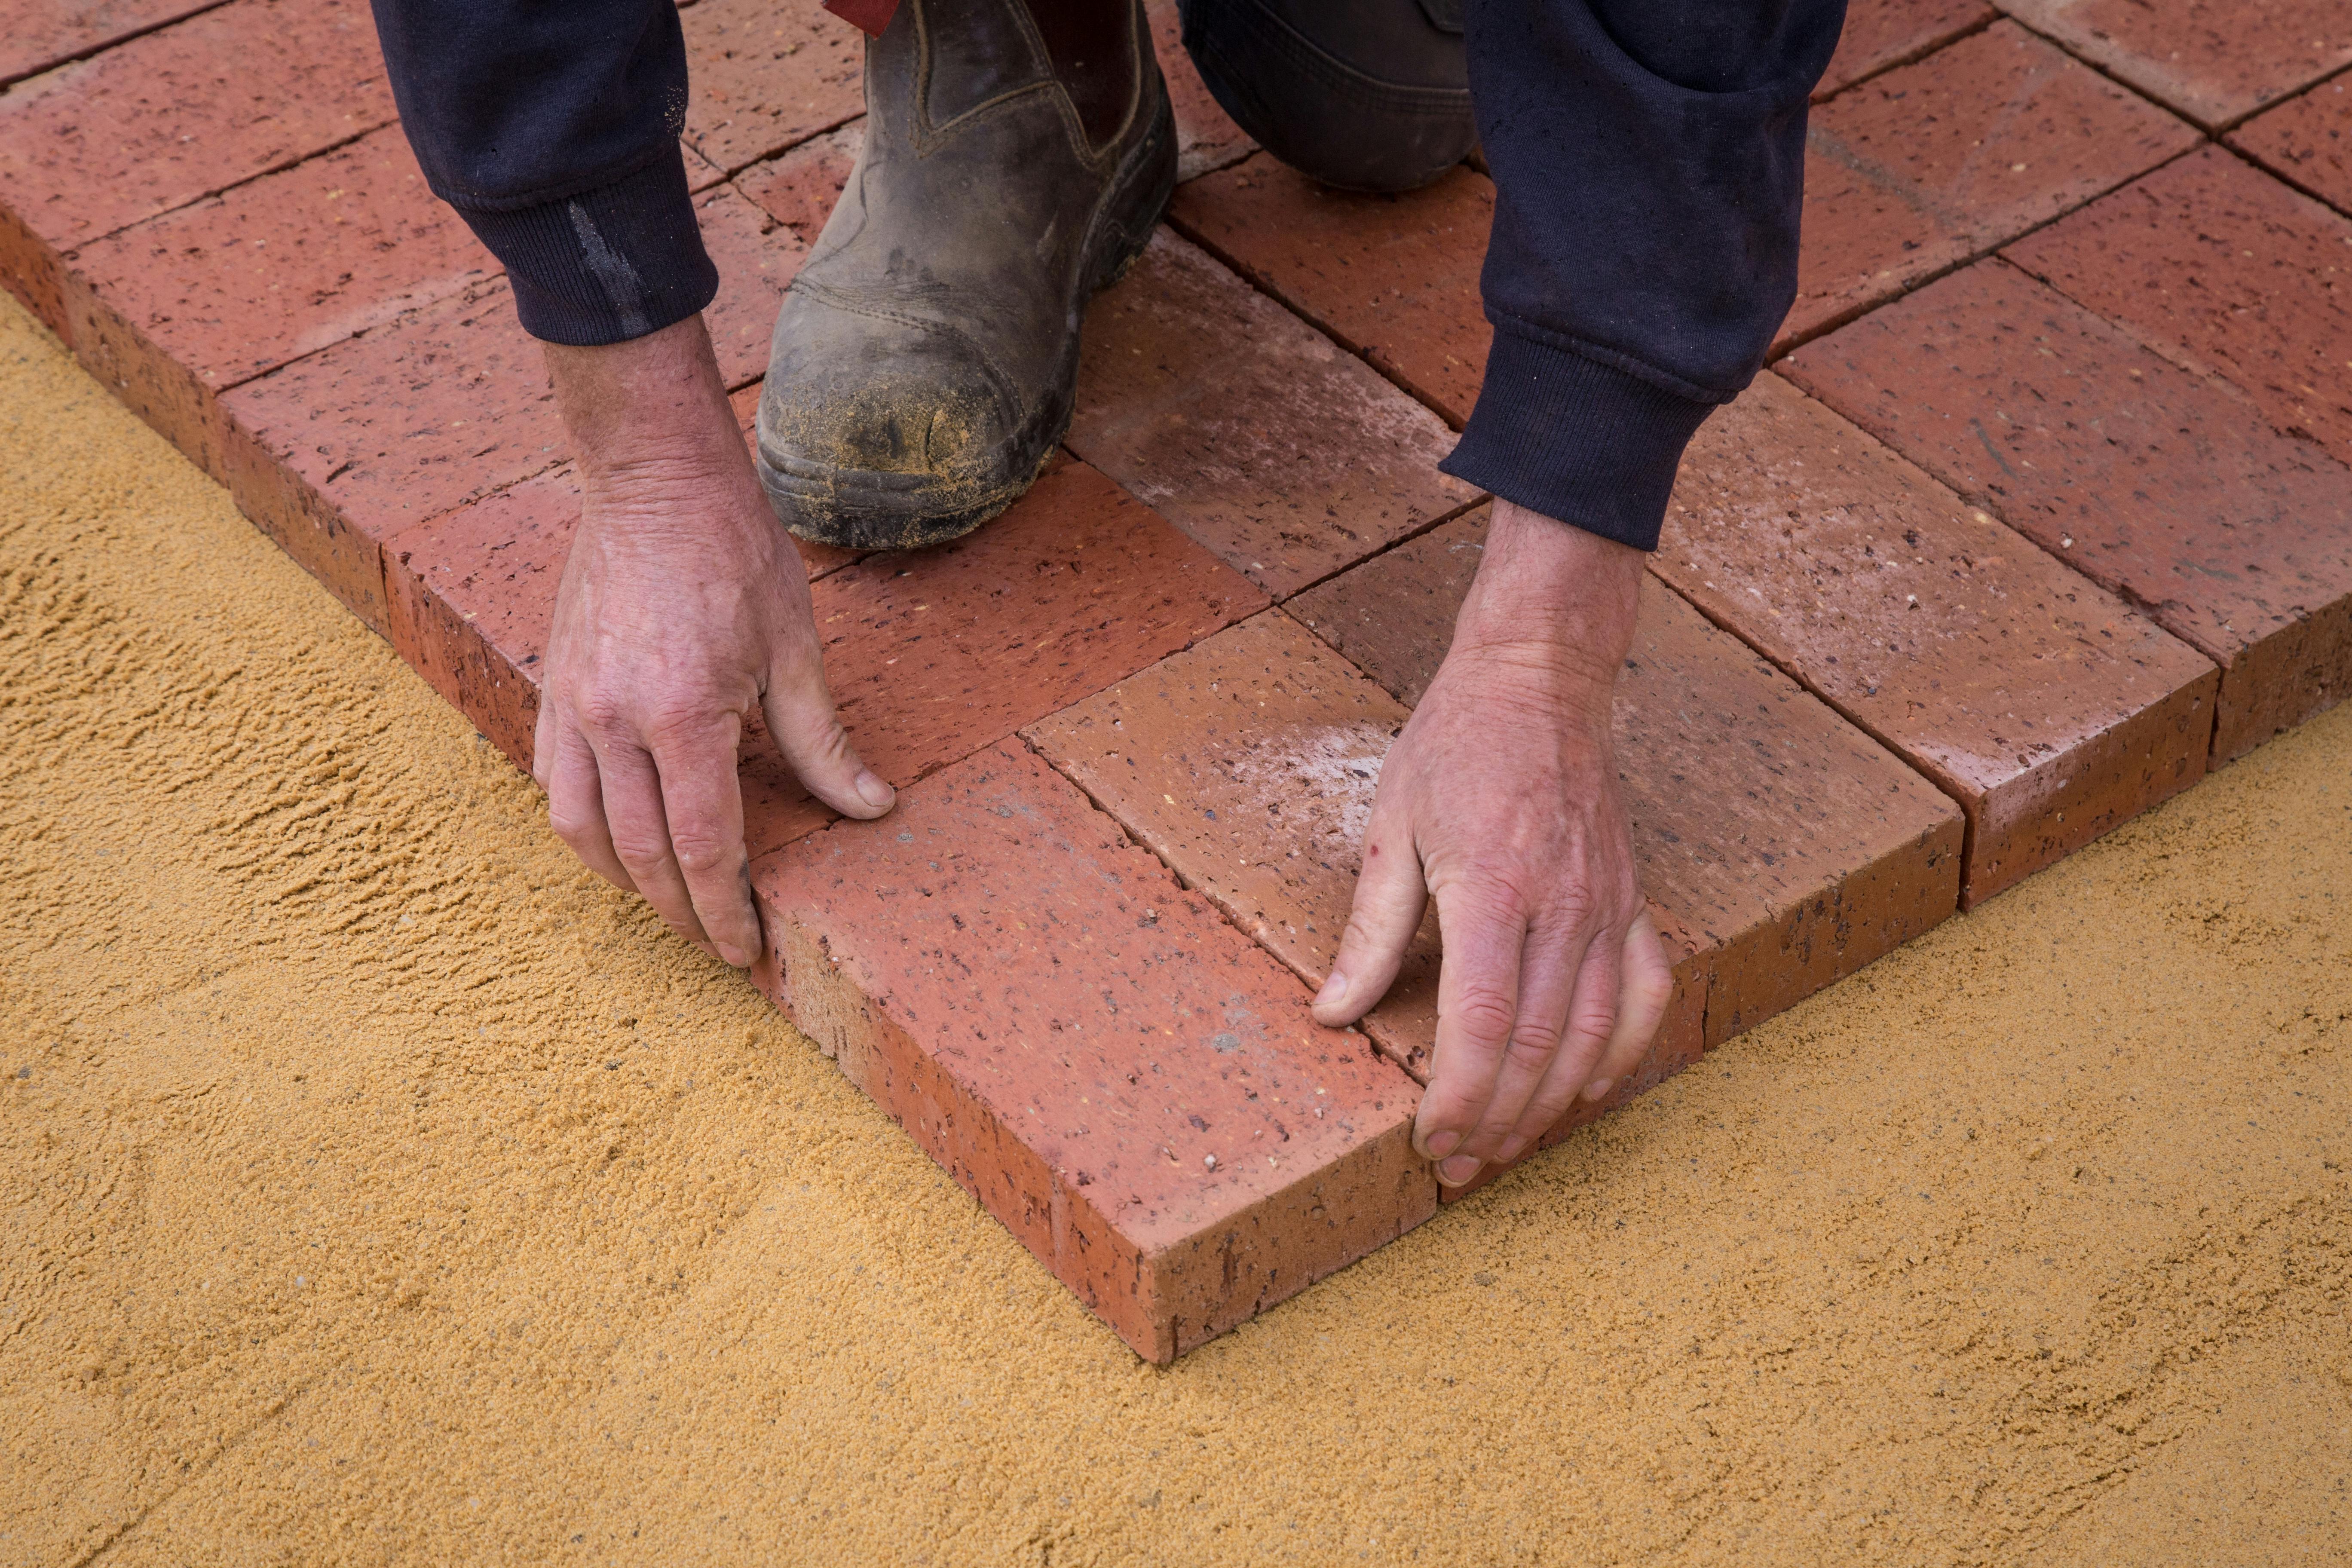
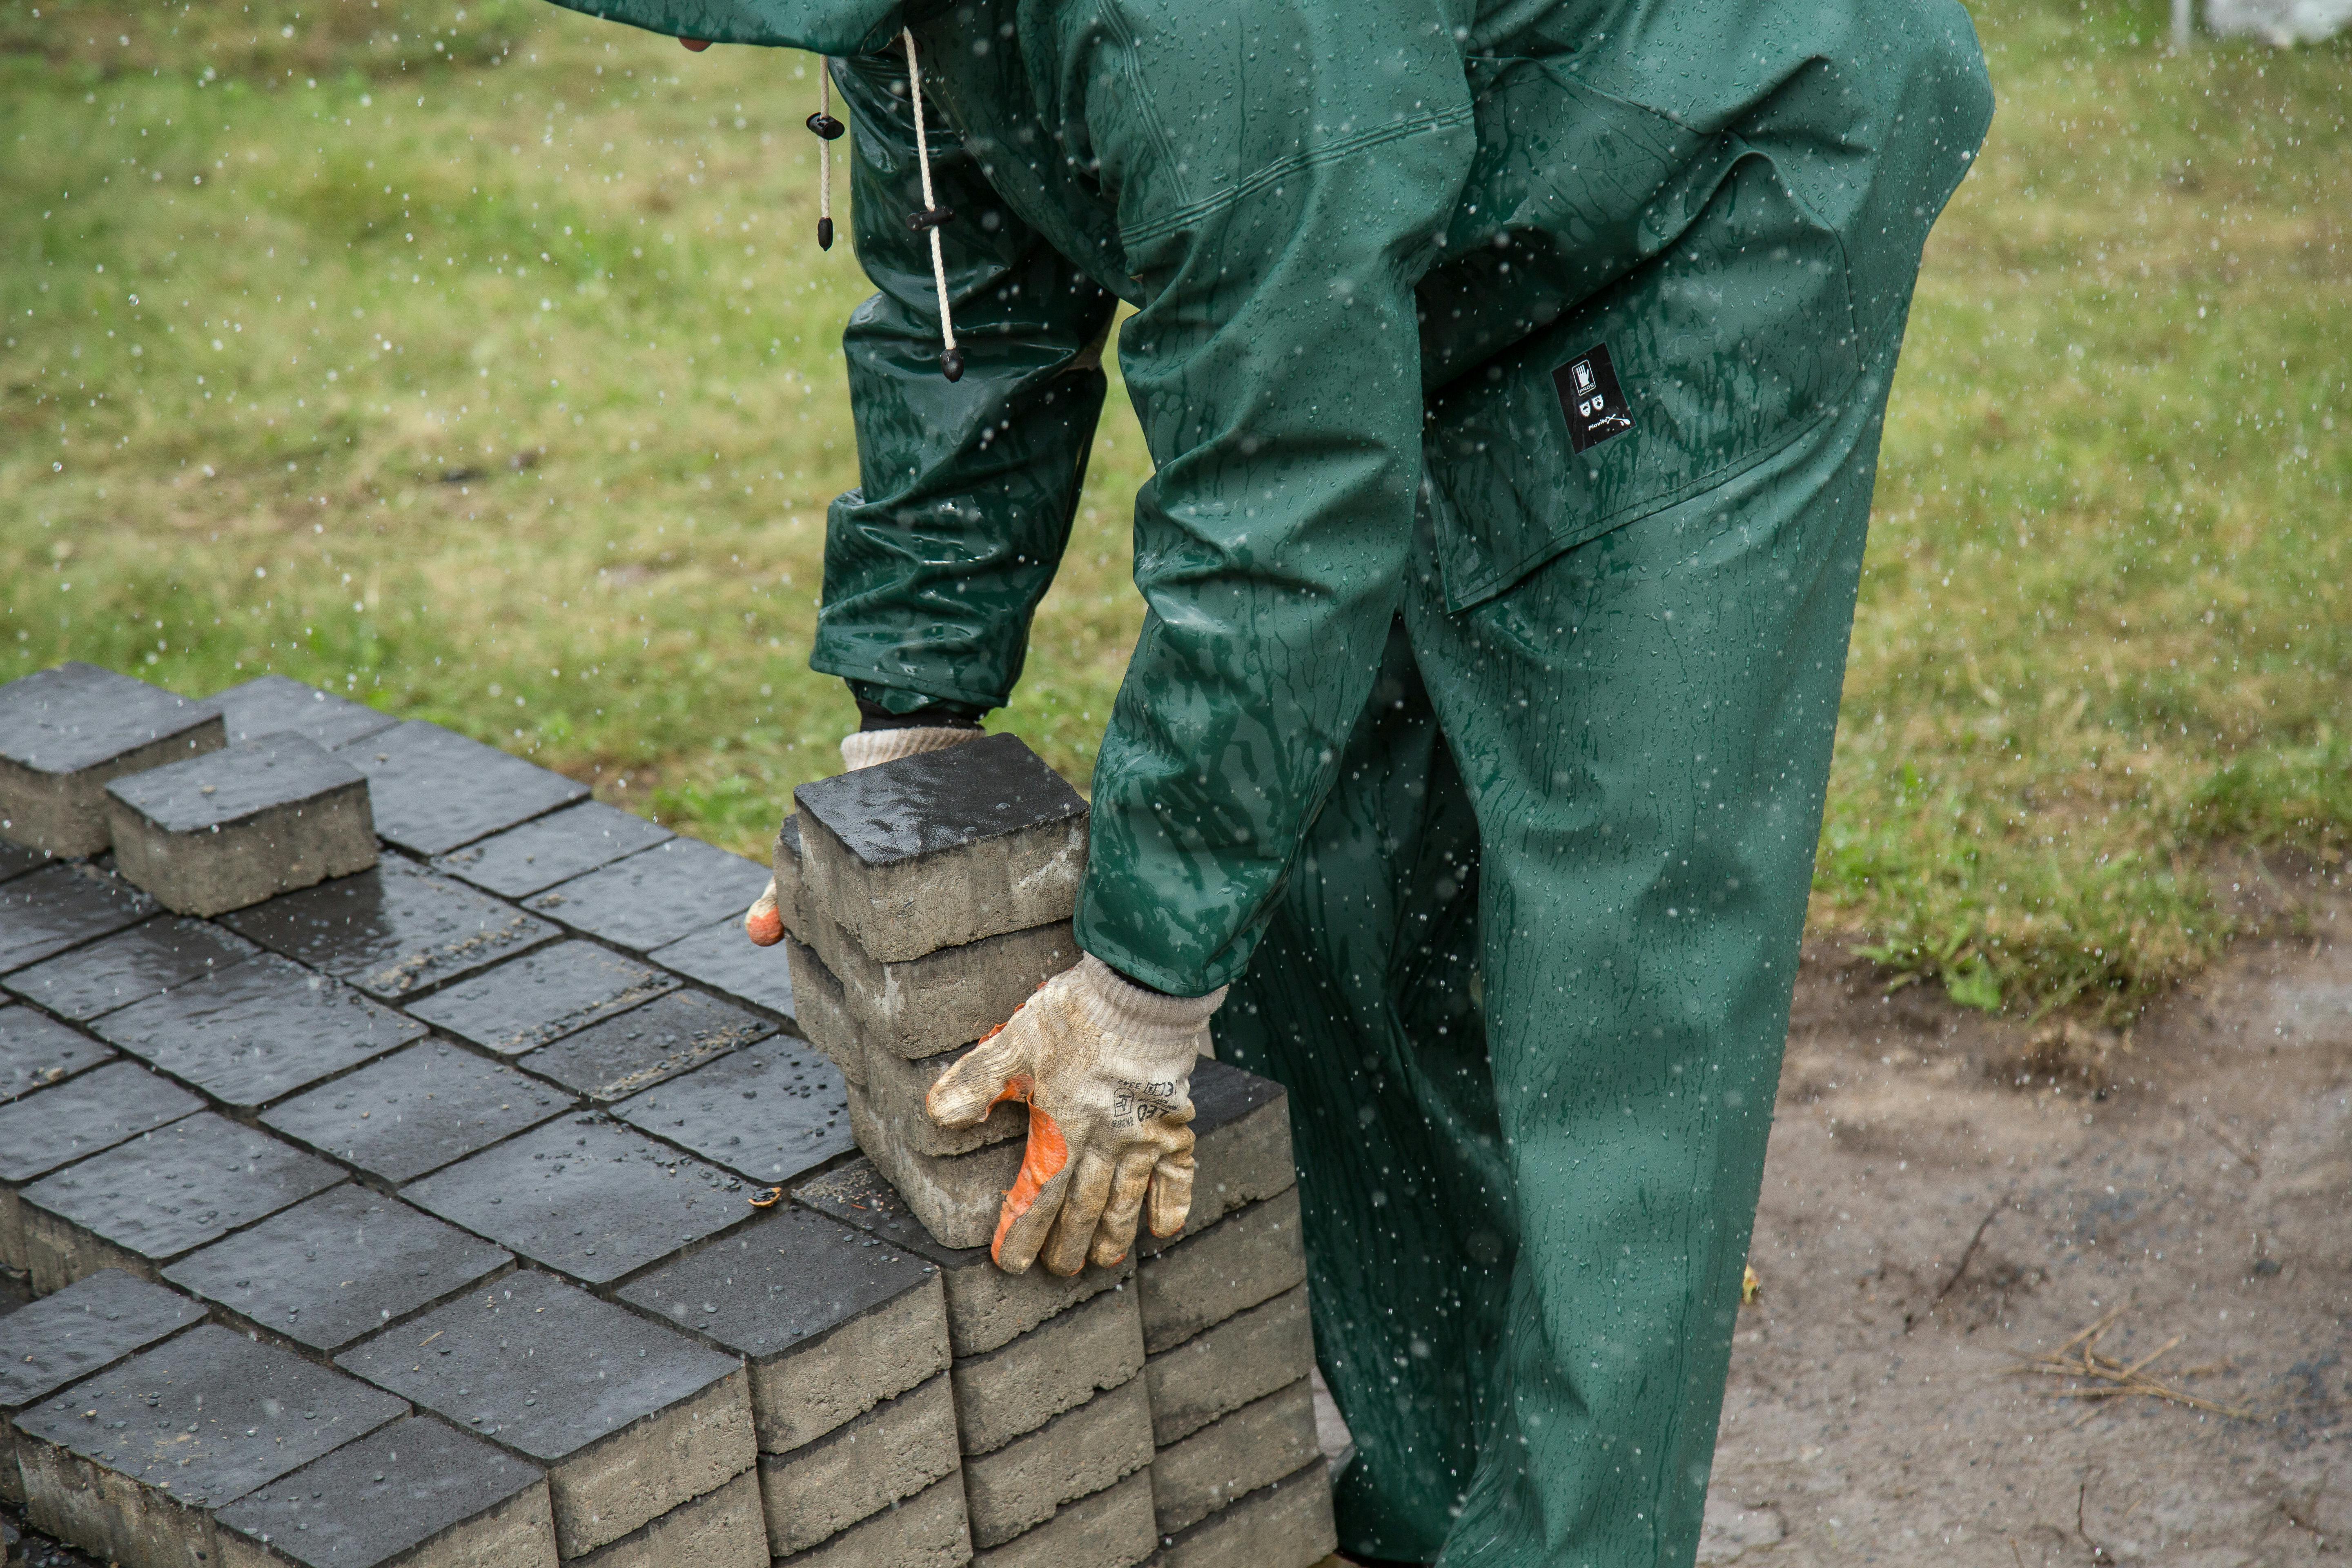
Begin laying the pavers starting from one corner of the space. Use a rubber mallet to tap each paver into place, ensuring they are snug and level with each other. Leave a small gap between each paver for sand filling.
Step 5: Fill the Gaps
Once all the pavers are laid, pour sand over the surface and sweep it into the gaps. Use a garden hose to mist the area lightly, helping the sand settle. Repeat this process until the gaps are completely filled.
Maintenance Tips for Your Paver Project
To keep your paver area looking pristine, regular maintenance is key.
Regular Cleaning
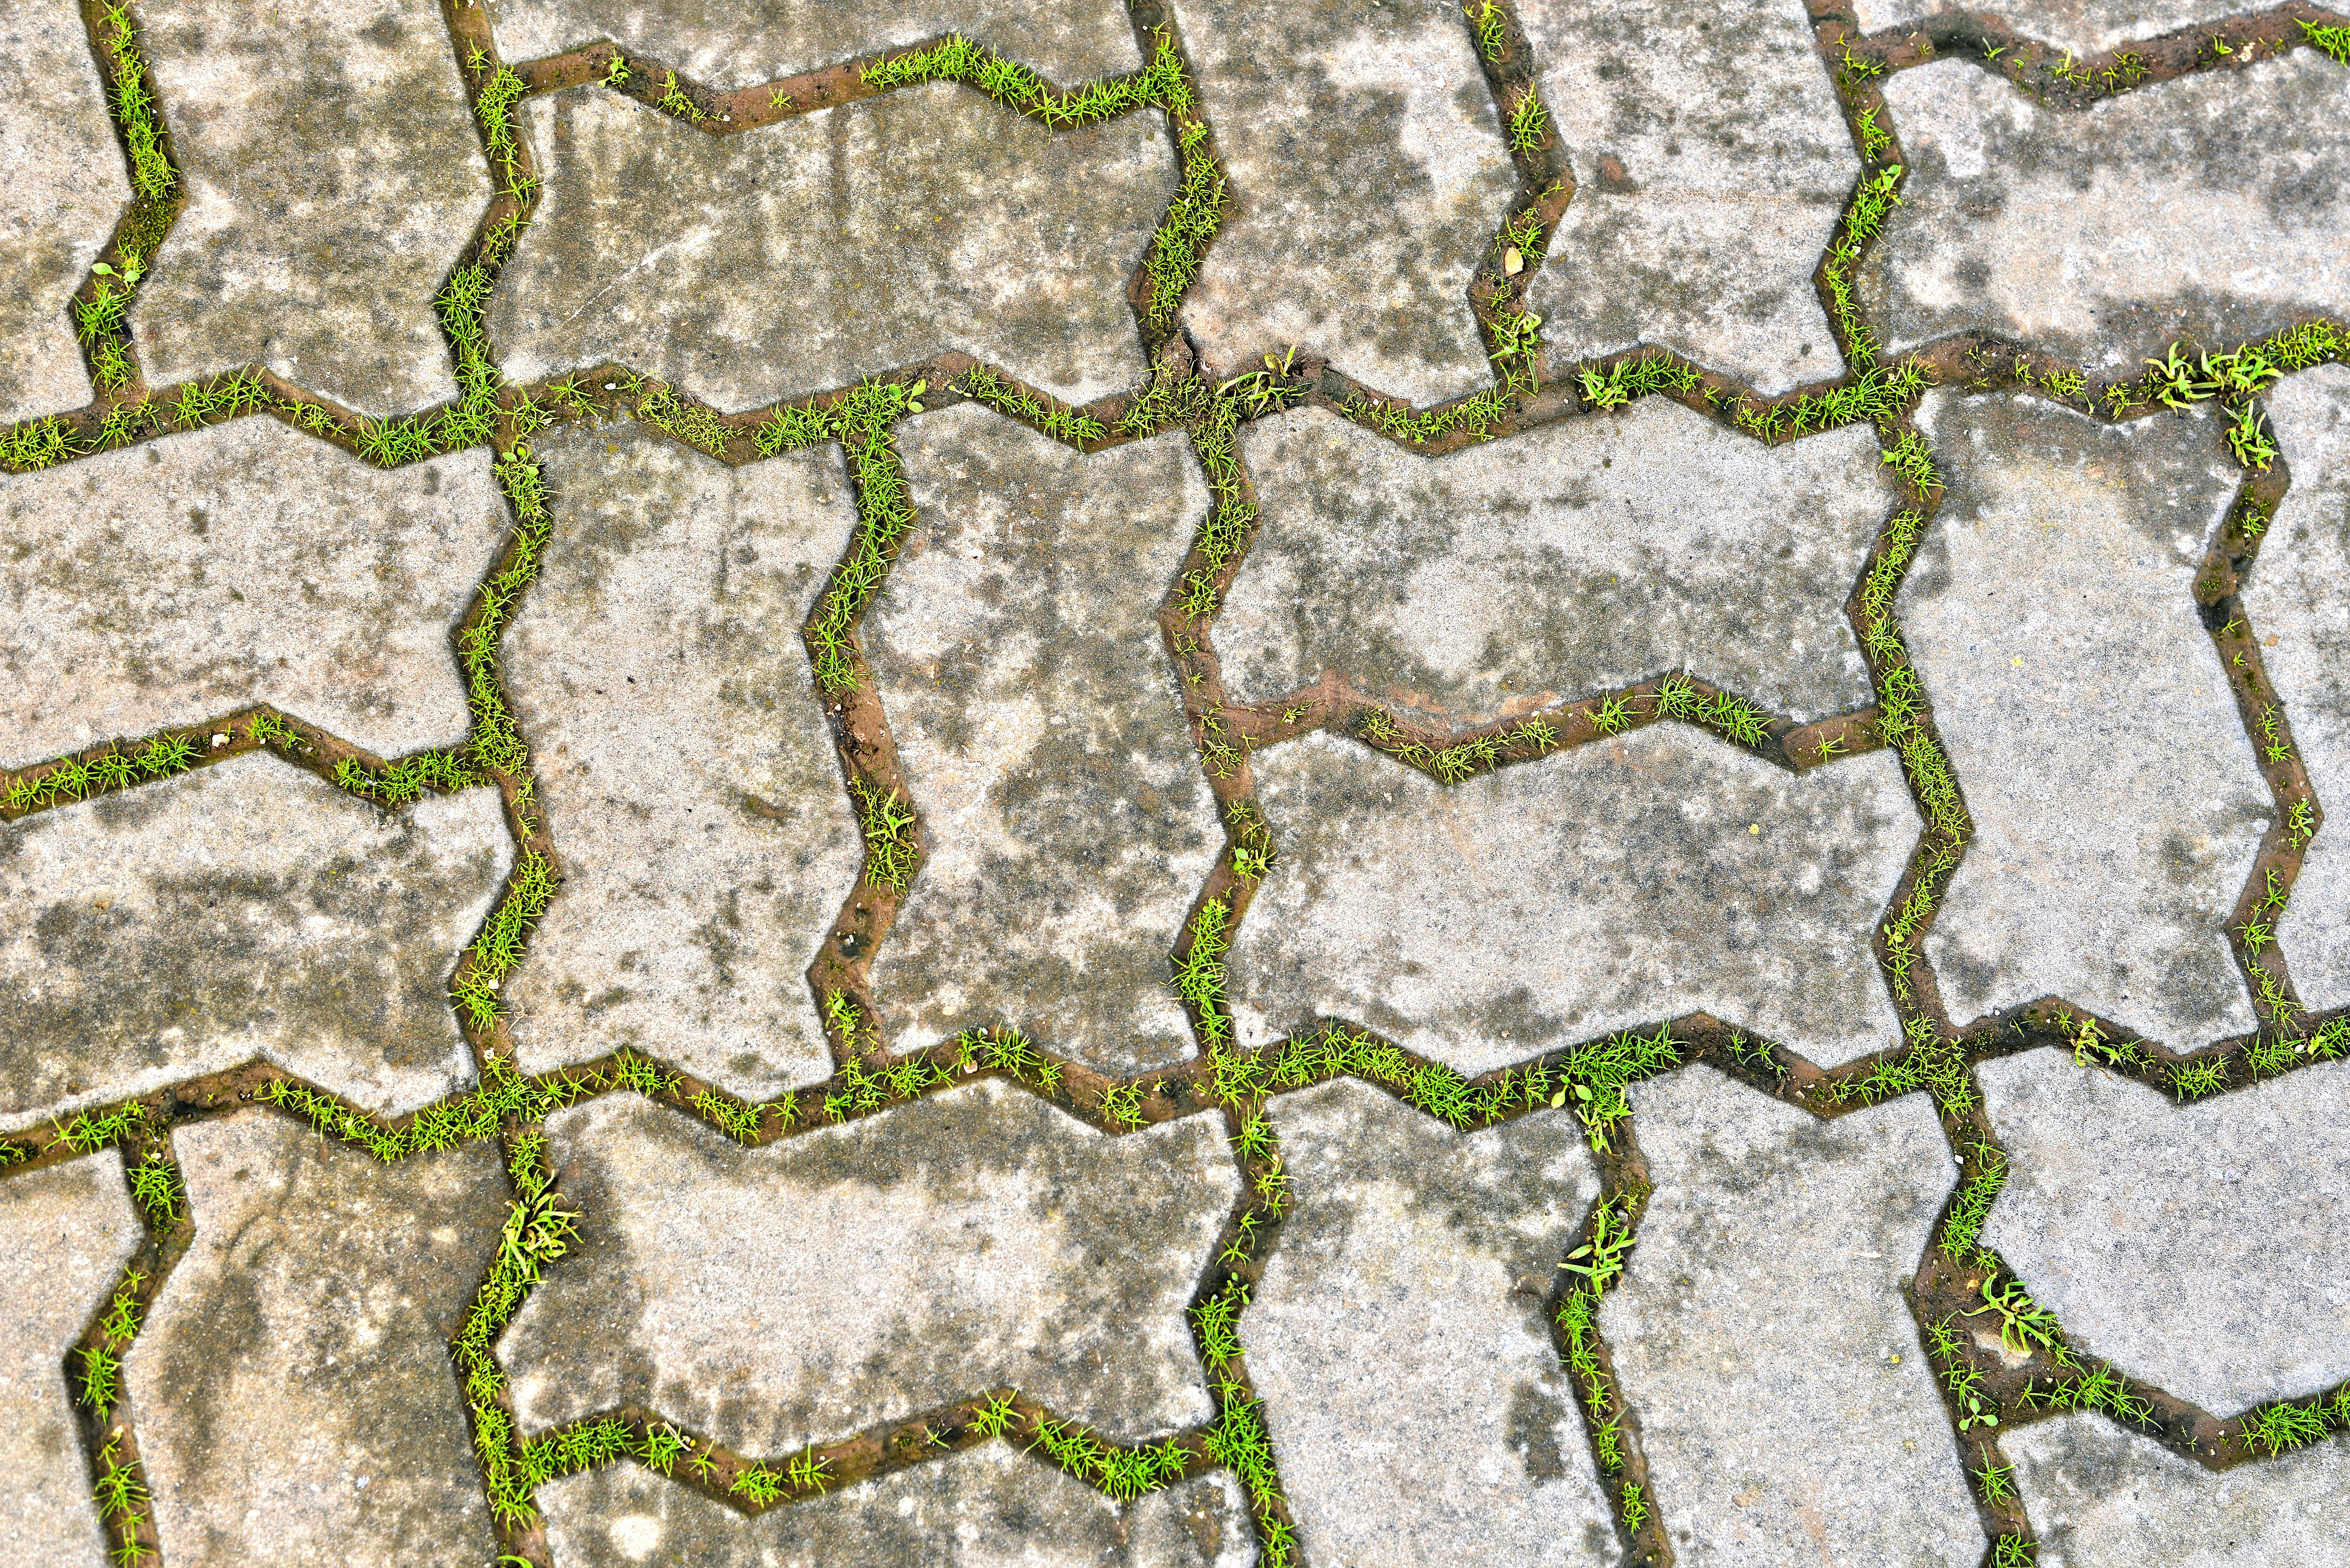
Remove debris and dirt with a broom or leaf blower. For tougher stains, use a mild detergent and water.
Seal Your Pavers
Consider applying a sealant to protect your pavers from stains and weather damage. This should be done every few years to maintain their appearance.
Conclusion
Embarking on a DIY paver project is an exciting opportunity to enhance your home's outdoor appeal. With the right materials and a little patience, you can create a stunning space that adds value and enjoyment to your property. For more personalized advice or professional assistance, contact Diablo Pavers, your local experts in Concord, California.
Ready to start your project? Visit Diablo Pavers for more tips and assistance, or call us to schedule a consultation. Transform your outdoor space today!